Want to change the layout of your form? Want to Add sections that can be easily found and moved? Then click on Manage Sections to get started.
Manage sections allows you to add to the standard sections in your forms. You can also move sections within your form to personalize the look of of your form.
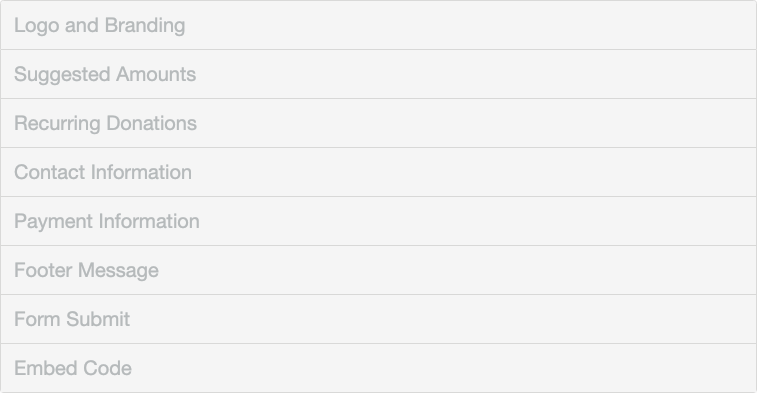
These are your standard sections for a Text-to-Donate or any payment form.
At the top of your Online Form design page within your activity, click on Manage Sections.

Your three choices are:
- Add Custom Section: This allows you to create a new section.
- Add RSVP Section: Adds a specialized section using the RSVP Template. For more information on this section, click here.
- Move Section: This allows you to move any of the existing sections in your form to a different location within the form.
Add Custom Section
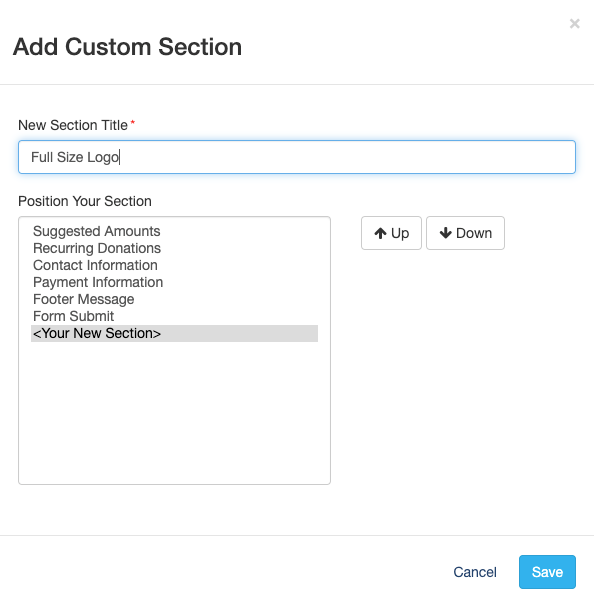
- Title your Section
- Move the section to the appropriate position using the Up and Down buttons
- Click Save and your Section should now be in the form Sections.
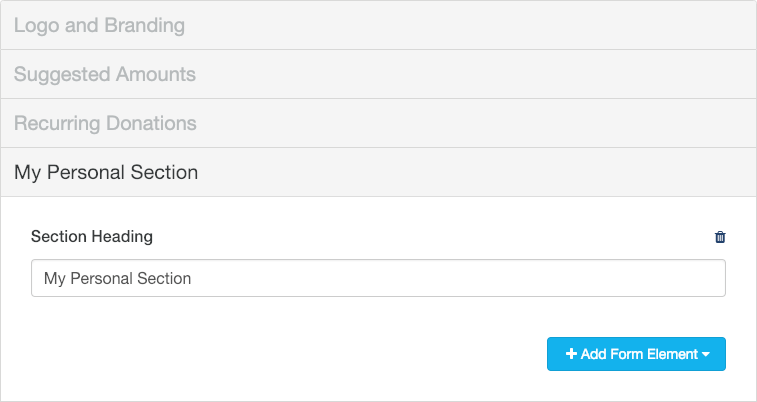
About your section
- Title/Section Heading: The title of your section will, by default, be the Section Heading that will show on the form. Until you add elements to your section, it will not show on the form at all. You can have a blank title.
- Elements: Your section does not start with any elements. You will need to add elements by clicking on the Add Form Elements button, as outlined here.
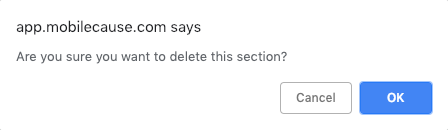
- Trash: If you don't need your section, you can click on the trashcan icon in the upper right of the section to delete it. You will be warned before it actually deletes.
Moving Sections
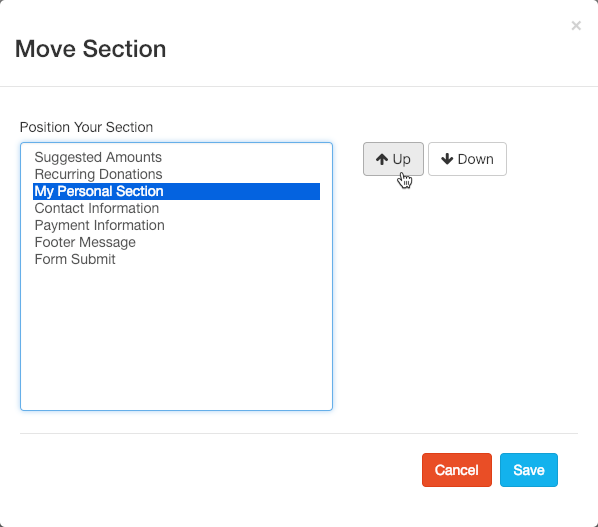
- To change the order of your Sections, select Manage Sections > Move Section.
- Select the section you wish to move and use the Up and Down buttons to place it where you desire.
- Click Save to complete the Move.
Your form should now be successfully moved.
