You can configure receipts that go to your supporters in several ways. You can define a default template for all receipts, regardless of the Activity type (e.g. Text to Donate, Survey, Volunteer Signup, etc.) in the Account Settings. Then within each form inside an Activity, you can personalize the specific activity receipt.
Account-wide Receipt Configuration
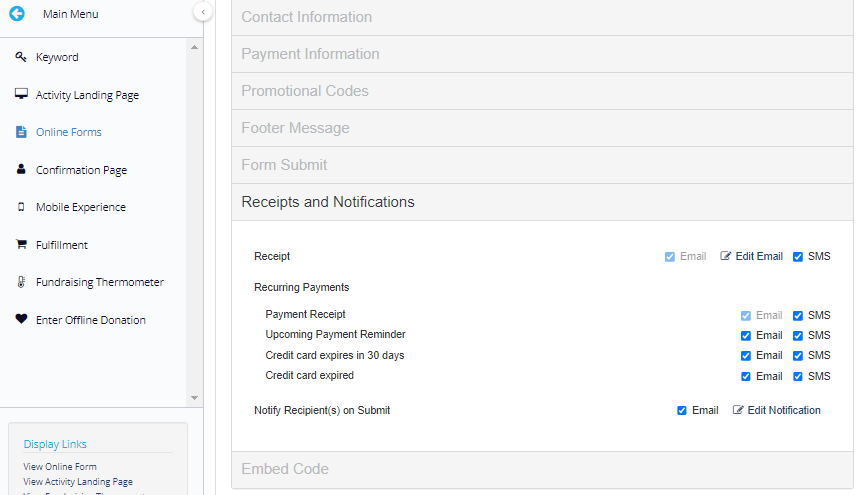
Click on Settings > Receipts and Notifications.

This version of the receipt should be more generic as it will be the template for all receipts. Make the Receipt Message something that could apply to virtually any setting, like "Thank you for your support to [ organization name ]."
Adding the other information in the Receipt & Notification Settings means that the information will also show on the form level:
- Contact Email - This is the email address the receipt will send from and where your supporters can reply if needed.
- Email Subject Line - Like the Receipt Message, keep this generic so it can apply to any type of activity, such as "Thank you for your support."
- Contact Phone - If you include this, it will show in the email so supporters can call you. If you wish not to receive calls, leave it blank.
- Include Tax Info - You have the option to turn on or off official tax-deductible donation receipts that are sent via email. If you prefer not to send donation receipts, switch this to hide.
- Compliance Message - When the Include Tax Info is set to show, the compliance message will automatically appear and generate. The message should include your organization's name. It is always a good idea to verify the information.
- Click Preview PDF Attachment to download a sample of the receipt the donor will receive.
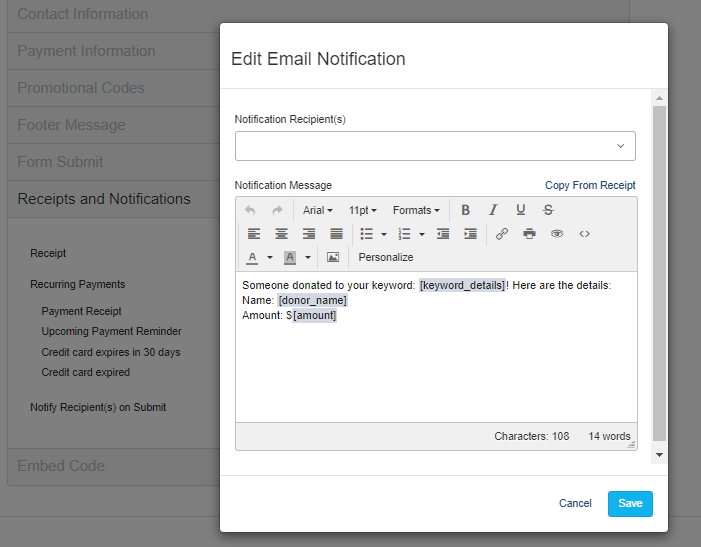
The Notifications section allows you to configure the emails that will be sent to people in your organization to alert them that someone has completed a form. For more information on setting up these Notifications, click here.
Important Note: Changes made to the Receipts & Notifications Account Settings will not update on existing activities, and will only be applied to any new forms created moving forward. See below on how to configure these emails for specific activities.
Activity-Specific Receipt Configuration
Often different receipt language is needed from one activity to another. You can personalize receipts for individual activities so that you can sell goods or services on one form while sending tax-deductible receipts on others. Follow these steps to change activity-level receipts:
- Go into the activity you wish to edit the receipt. Likely you will do this by going into the corresponding Campaign tile, then clicking on the activity's name or keyword.
- Click on Online Forms in the left column.
- Inside the Receipts and Notifications section, click on Edit Email.
- Update the message.
- This looks exactly like the setup in the Account settings, except here you can use the Rich Text Editor to format your message with links, images, colors, etc.
- You can also Personalize the message with any information collected from the form - except payment information - by clicking on Personalize. Add a generic phrase for that item if the donor did not fill in that section.
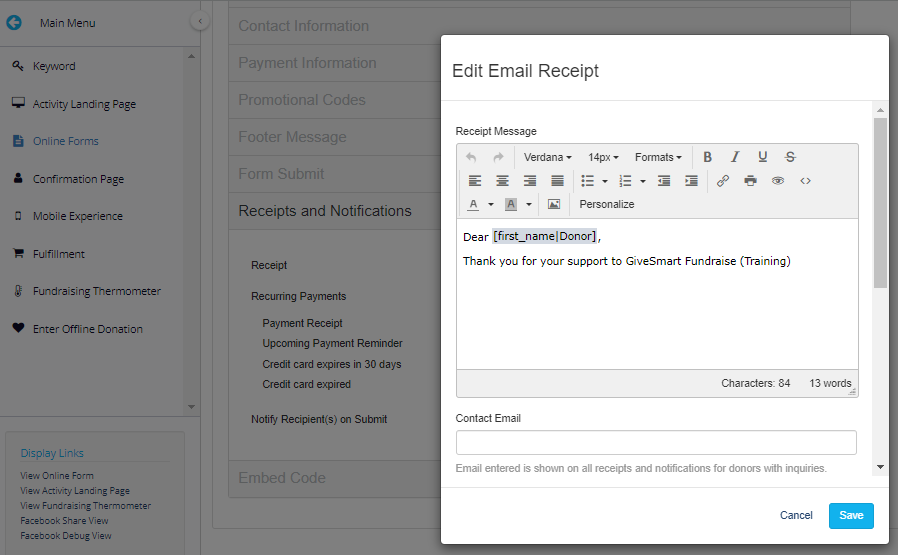
- Click Save at the bottom.


The Notifications section allows you to configure the emails that will be sent to people in your organization to alert them that someone has completed a form. For more information on setting up these Notifications, click here.
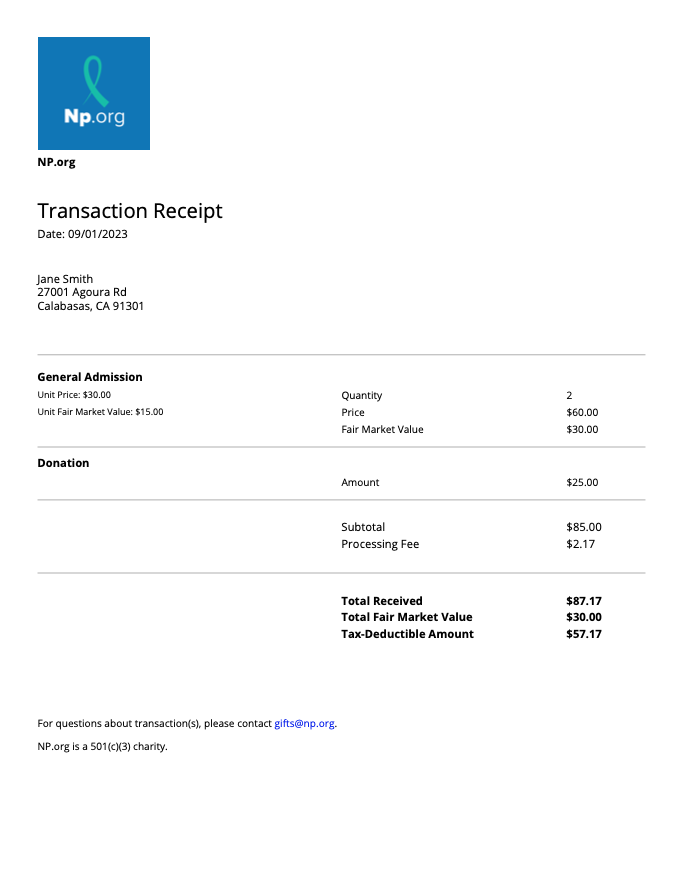
What does the receipt email look like?
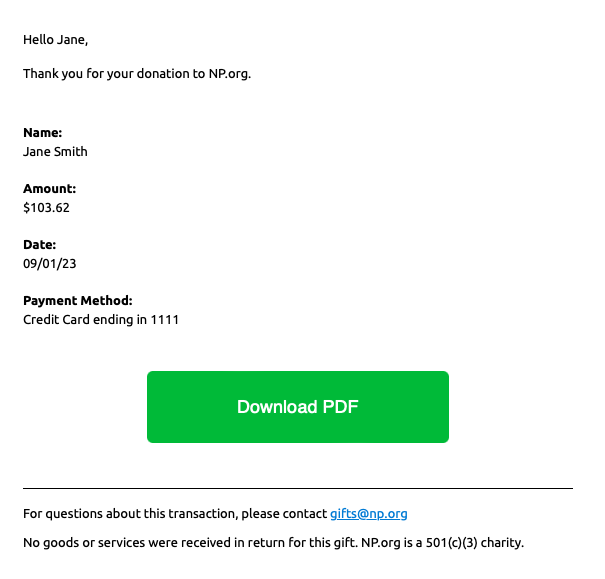
What about the PDF Receipt?