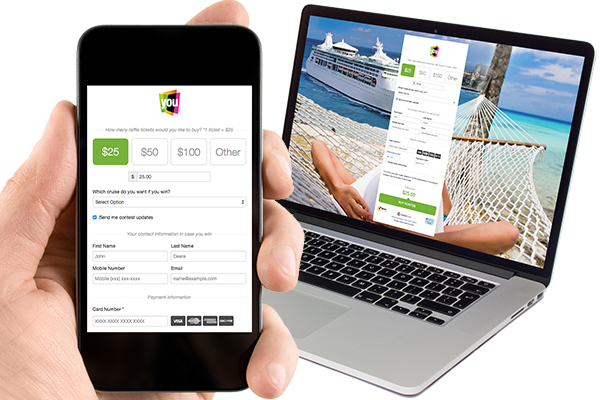
Truly personalize your forms by adding Form Elements. Form elements can help insert images, media, or rich text to your GiveSmart forms. Most importantly, they can capture a variety of additional information for reporting purposes.
For our guide on how to add or move form sections, click here.
Add Form Elements
When you expand a form section (such as the Suggested Amounts or Contact Information section), you will see a +Add Form Element button.
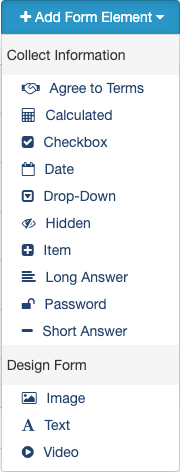
Form Elements are split into two categories:
- Collect Information: Add an element to your form to collect additional information from your supporters through various means that you can generate reports containing that data
- Design Form: Add an element to your form to personalize the look and feel of it.
Collect Information Elements
All Collect information elements have the same structure:
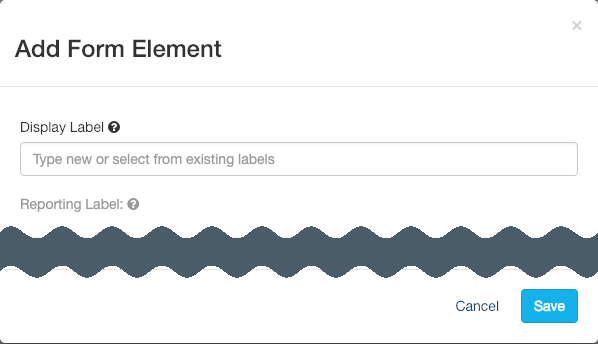
- Add the Display Label for what will be shown on the actual form. You can also provide basic instructions on what information you are asking for with this Label.
- Optionally add a Reporting Label so you can generate clean and simple reports.
- If you want a separate Reporting Label, click edit after you have completed your Display Label.
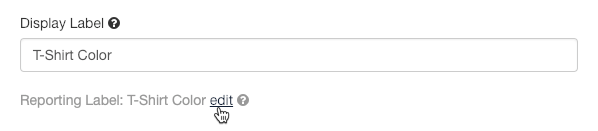
- If you want a separate Reporting Label, click edit after you have completed your Display Label.
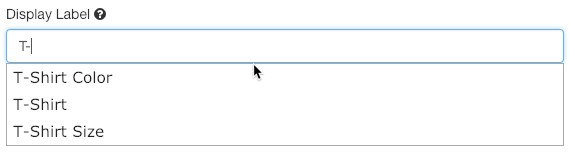
You can use both Display and Reporting Labels across multiple forms. When you start to type the label, the field will show you other Form Element Labels from your other forms, so you can select that existing one if you like.
After you have the Display and Reporting Labels in place, you can work with the specifics of the type of element you are designing.
Types of Form Elements
- Agree to Terms: If you have any posted Terms & Conditions posted that you want or need your supporters to agree to, you can use this element to create a text box with a link to your terms page on your website. For more information, click here.
- Calculated: The Calculated element is usually used in conjunction with other elements that are gathering a count of something. For example, ordering a specific number of T-Shirts, or adding different tickets to an Event. For more information, click here.
- Checkbox: Usually when you want your supporter to agree to something, you can use a checkbox. Whether it is for permission to share about them to your Social Media or any other types of acknowledgments or agreements, add a checkbox to describe it. For more information, click here.
- Date: Used for ages ranges for a run/walk or attending age-restricted venues, a survey for requested dates of action, etc. or any other reason. For more information, click here.
- Drop-Down: Used for any single choice option on a form like a Fund designation, quantity of reservations requested, divisions, etc. For more information, click here.
- Hidden: Usually used in conjunction with other Form Elements, specifically with the Calculated element as a number, such as to set a ticket price. For more information, click here.
- Item: Supporters can order or buy items by selecting the number of items they want. This functionality is great for non-ticketing purchases such as memberships, sponsorships, t-shirt orders, ordering pies for the bake sale, and more. For more information, click here.
- Long Answer: A freeform text entry box that spans multiple lines.
- Password (Example: •••••••••••)
- Radio Button: Capture quick Yes/No answers, or list up to 10 various options for supporters to choose. For more information and examples, click here.
- Short Answer: A single-line text entry box. Select the Number? box to make a Short Answer element calculable.
Design Form Elements
When you want to add extra information, instructions, touching images or videos, etc. You will want to add a Design Form element. There are three types of design elements.
- Image - upload a PNG or JPG image file.
- Text - use rich text editor tools to add verbiage to your forms.
- Video - add a link to a public YouTube or Vimeo video to display on your form.