You can save your various reports and access them from one location under the Saved Reports tab under Existing Reporting > Search Transactions. All filters such as the Date, Campaign, Form, or Amount you select will be saved, in addition to your selected Manage Columns.
Creating a Saved Report
To create your Saved Report you must first build your report as normal, as outlined here.
When building your report from the Report Builder, it's recommended to choose a variable date range e.g. "Last 30 days" or "This Year" if, for example, you wish to return results from the last 30 days from the day you're running the report.

After hitting Search and returning results, select Manage Columns to choose the specific field data you'd like to include in report.


IMPORTANT: When you save a report, the columns selected on the results screen will be the columns included in that saved report. A new saved report will be required if any columns need to be added or removed, so make sure you select everything you need.
Click Save Report above the search criteria.

A window will appear prompting you to name your report. Click Save Report.

You may also set the Visibility on any Saved Report. You have the choice of "All" or "Creator". In general, we recommend selecting All if you wish for others to access this report as well.
If everything worked correctly, you should be alerted that your report (by name) is now saved and you can click the link to go see your various Saved Reports.

Using Your Saved Reports
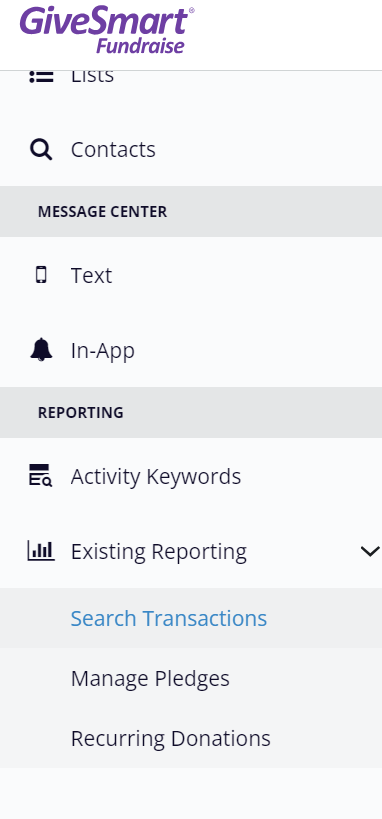
To access, edit, or download your Saved Reports, navigate to Existing Reporting > Search Transactions

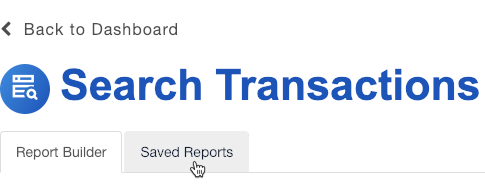
Select the Saved Reports tab from the Search Transactions screen.
From the list, locate the report you'd like to use.
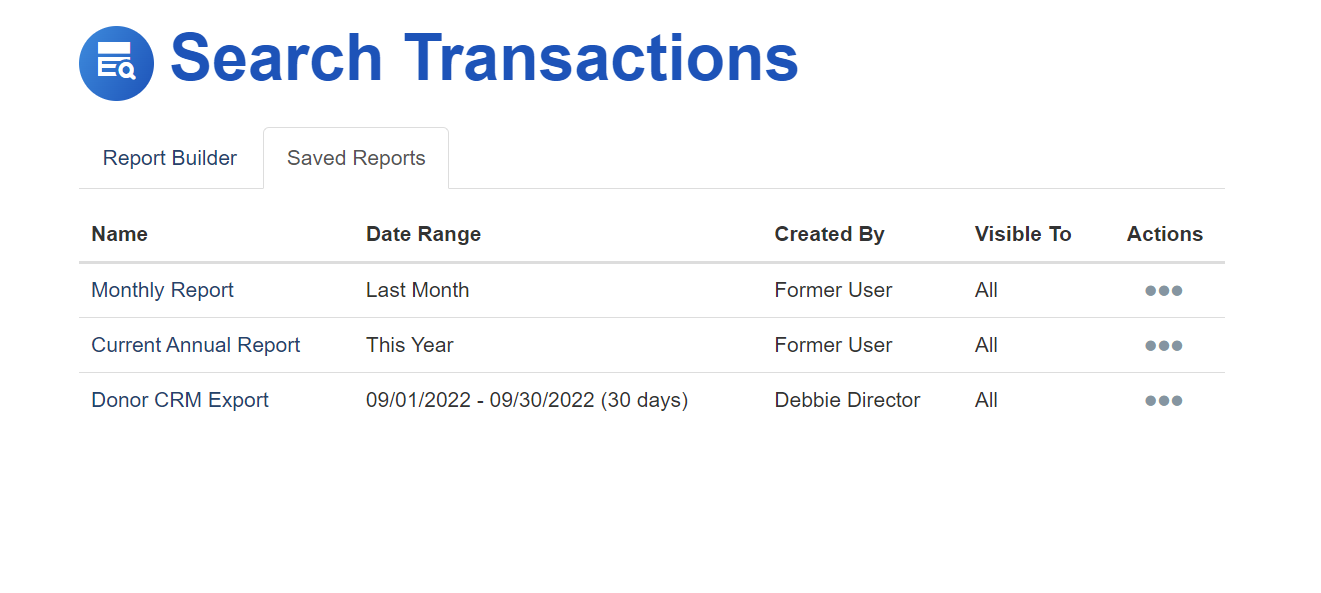
Click the Actions Menu on the right-hand side. See below for an explanation of each action.

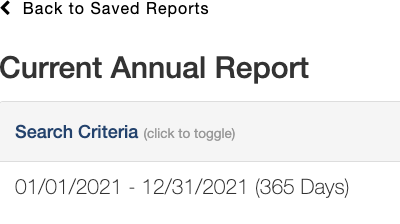
Run: Selecting Run will take you directly to the results screen where you can review the information, make changes to the columns, and export the report via the Export action. At the top, select < Back to Saved Reports to be taken back to the Save Reports listing.
Edit: Editing your Saved Report allows you to adjust the Report Name and user Visibility. If other changes need to be made, create a new Saved Report.
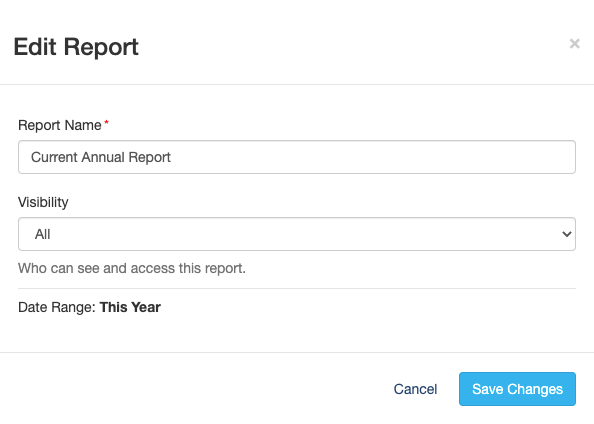
A new saved report will be required if the date range needs to be adjusted, or if any columns need to be added or removed.
Download: Downloading your report is the one-click method to export the .csv report with all your saved criteria and columns.
Delete: Saved reports can be deleted. A warning modal will ask to confirm the deletion.

