When a guest purchases a group of tickets, by default, their name will appear on all the tickets. By enabling the switch in the Ticket Creation process, the purchaser can enter the names, phone numbers and emails of the additional guests they are purchasing tickets for, in what now shows as the second step (Guests) of the purchasing process.
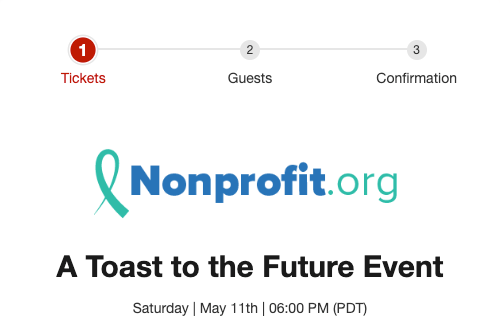
With this enabled the top of your Ticketing Activity will show what step you are on: Tickets, Guests, or Confirmation.
When you design your ticketing activity, there is a single switch in the Tickets section to enable or disable the option to Collect Guest Info.

The majority of this function is supporter facing with nothing else for you to do as the organization.
Supporter Experience
The first step for the supporter is the same, they order their tickets.
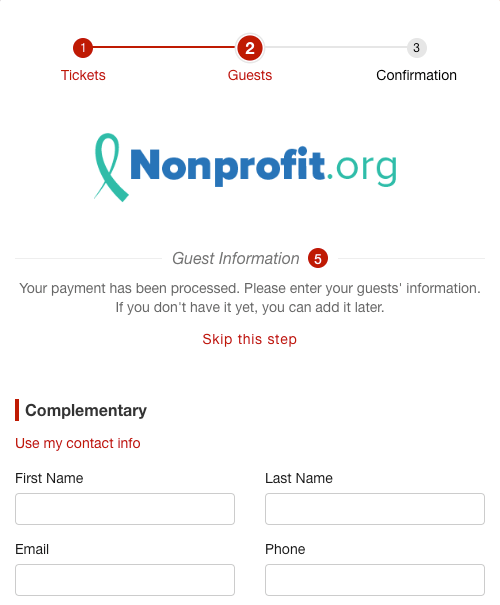
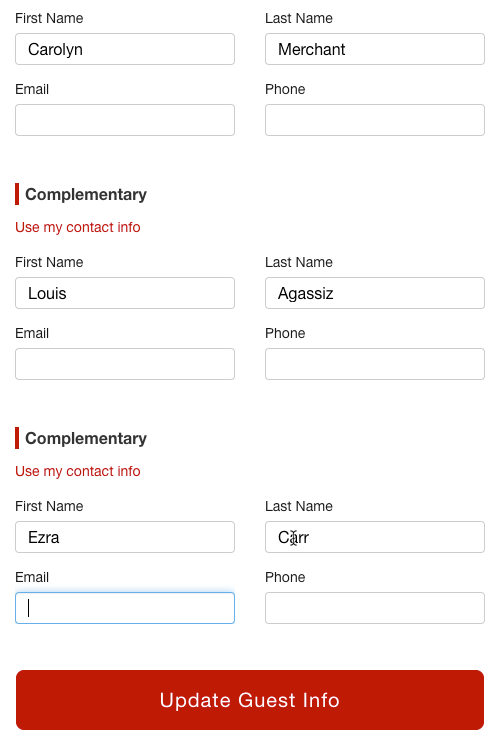
Step 2 is where the purchaser can enter the other guests' information. The only things collected will be First Name, Last Name, Email address and Phone Number. It is not required to enter everything, and the purchaser can just skip this step for now to enter the information at a later time.
They can also click on Use my contact info to automatically fill a ticket with their own information.
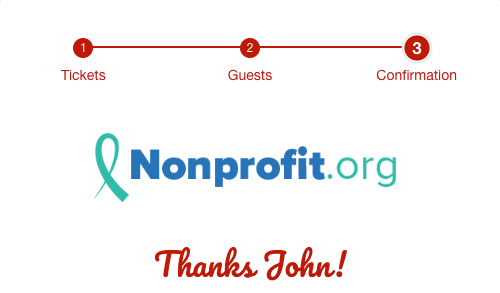
Step 3 is the same, directing the purchaser to the Confirmation Page.
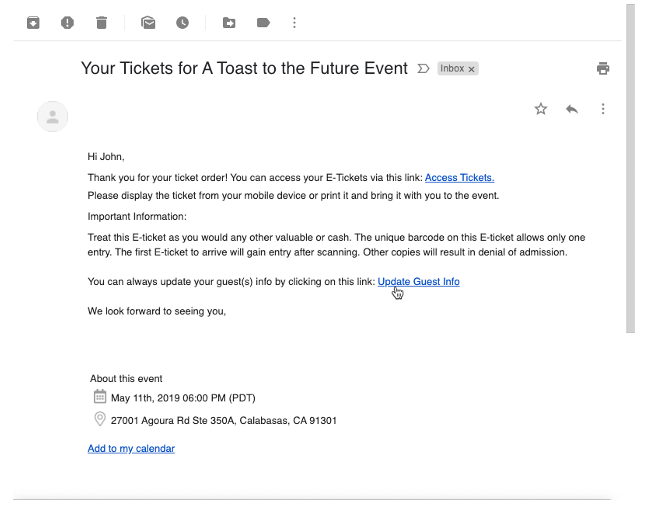
They will receive two emails. One will be the Receipt of the transaction and the other will contain their tickets. The title will be "Your Tickets for [Event Name]"
This email will provide one link (Access Tickets) to download the tickets as a PDF, one link to Update Guest Info and one link to add the event to their Calendar.
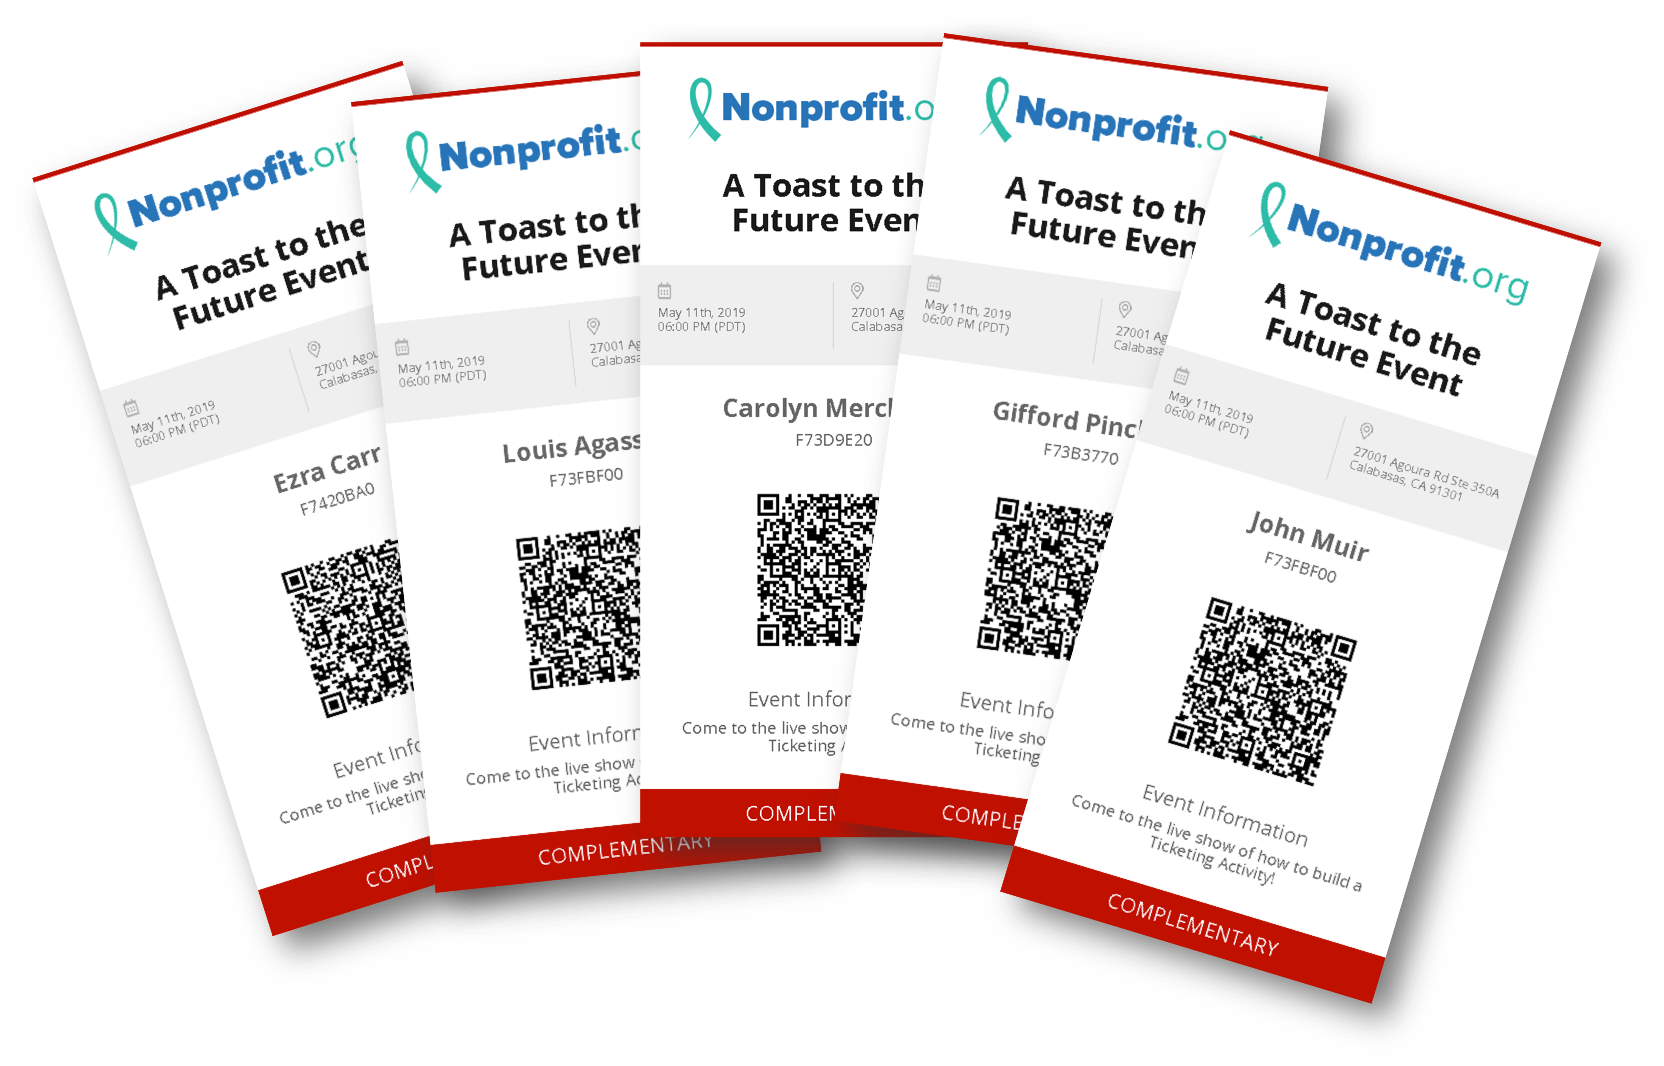
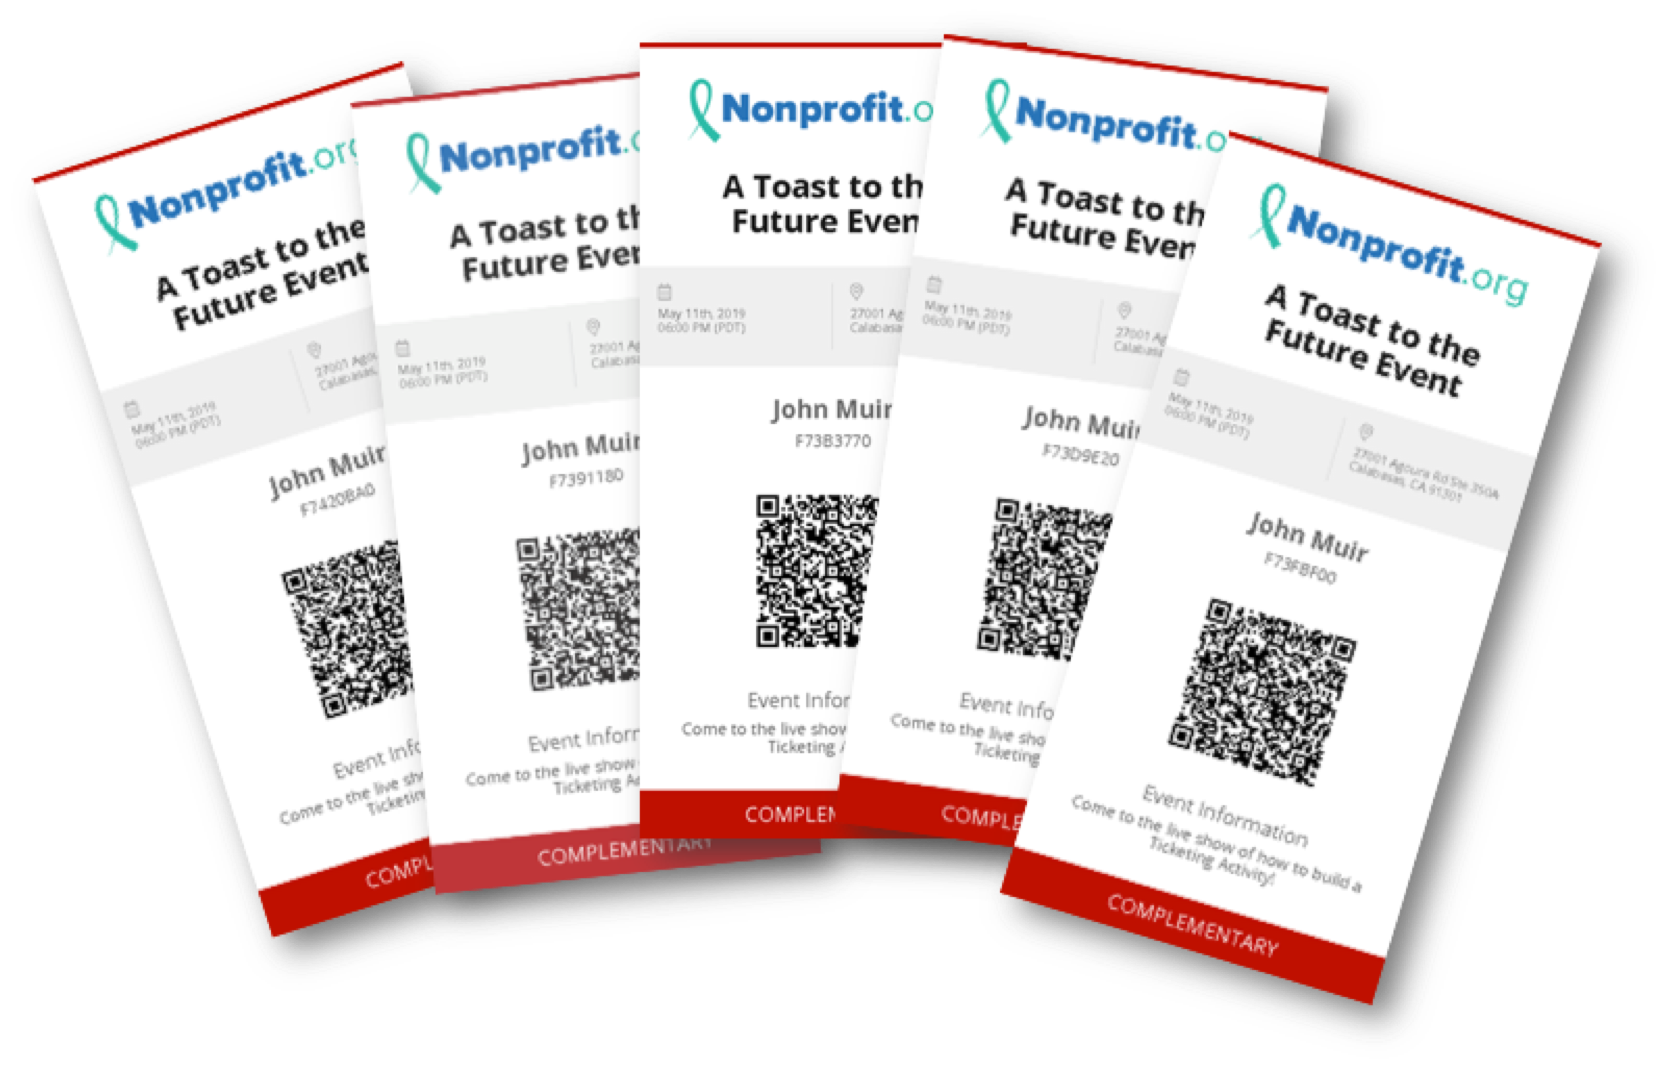
If they downloaded the tickets without entering any guest information, all the tickets will contain the purchaser's name.
If they click on Update Guest Info, they will be taken back to the Step 2 screen, but this time all the tickets will start with their name. They can then enter other guests' names, emails and phone numbers and click the Update Guest Info button at the bottom.
They should receive a message at the top of the page confirming the information was changed.

Now, if they download the PDF of the tickets from the same email, all the tickets will have the other guests' names.