The Manage Guests page is effectively your "Guest List" which compiles all ticketed guests within one Campaign. This page is where you can view, filter, manage, and make updates to any ticketed guests.
After you have created your Ticketing Activity, you may head to Manage Guests to manage all tickets.
Only purchases which selected at least one Ticket Element will be eligible to appear on the Manage Guests list. If your form utilizes an Item Element or Drop Down Element instead, an associated ticket/guest will not be created.
Navigating to Manage Guests
First, navigate to your Campaign that contains your Ticketing activity. Click the progress bar on the Campaign's tile to be taken to the Campaign's Dashboard.

Next, locate your Ticketing form. Select Actions on the right-hand side.

Select Manage Guests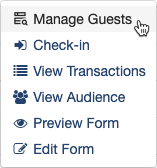
The top of the Manage Guests page will display the Total Ticket Sales and Tickets Sold so far.

IMPORTANT: Only purchases which selected at least one Ticket Element will be eligible to appear on the Manage Guests list. If your form utilizes an Item Element or Drop Down Element instead, an associated ticket/guest will not be created.
Manage Guests Actions
From the Actions menu, select Check In Guests to be directed to the Check-In page. Select Share Check In Page to send the check in link to volunteers. Additionally:
- Use the Actions menu to check in, update, cancel, or resend a ticket.
- Filter and search for any guest(s) or ticket types.
- Select one or more guests and export your guest list to a .csv file.

For more information on the Guest Check In functionality, click here.
Share Check In Page
To send a link for your Volunteers to use for guest check-in, click Share Check In Page.

Enter the email address(s) for any volunteers who will assist with guest check-in.
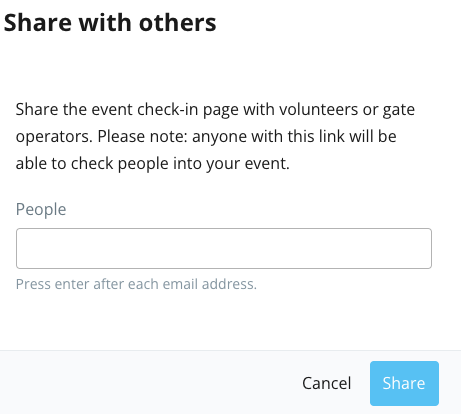
- Add the email addresses of your volunteers under "People".
- Press enter if there's multiple emails to add.
- Once you have emails entered, click Share.
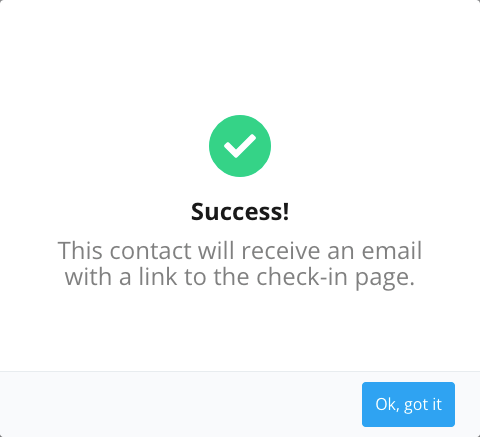
- A success modal will pop up noting the emails were sent.
- The email will include a link that will direct them to the guest check-in page.
IMPORTANT: If an email entered to receive the guest check-in link is associated with an existing user in your GiveSmart Fundraise account, they will be directed to a login screen instead of the check-in page.
Guest Action Menu
The Action (. . .) menu on the right-hand side of each guest will allow you to:
- Check in the guest.
- Update the guest's info.
- Cancel their ticket.
- Resend their ticket.

When you select Cancel Ticket, the ticket will be greyed out but still appear on the Manage Guests page.
Cancelled tickets will not show up on the Check-In page.
You will be alerted that the ticket is canceled, and you can click Ok, got it to confirm the cancellation.

You will also have the option to Undo the action from this screen.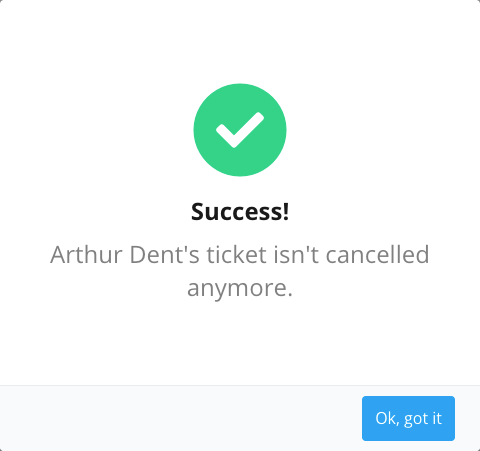
Use the Resend Ticket action to resend the ticket email to the purchaser. When you do, you will get a confirmation window that the ticket has been sent.
NOTE: This action will only resend the ticket email to the individual who purchased the ticket.
Guest Filters

If you want to look for a specific guest, you can use the Search bar above the guest list to search by:
- Guest Name
- Ticket ID
- Ticket Type
- Email Address
- Phone Number
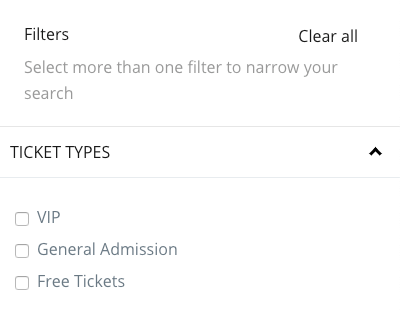
Select Filters next to the search box to narrow the list first by ticket type before you search.
Selected Guests
Select the checkbox on the left-hand side for any guest. Select Export or Send Message to export the guest details, or send a text to the selected guest(s).
Export
The Export action is a one-click process to download a file that includes the details of your selected guests. use this file as a back-up for check-in purposes.
The "Purchased By" column on the guest list export will also note the name of the original purchaser as reflected in your Transaction Reporting.
Send Message
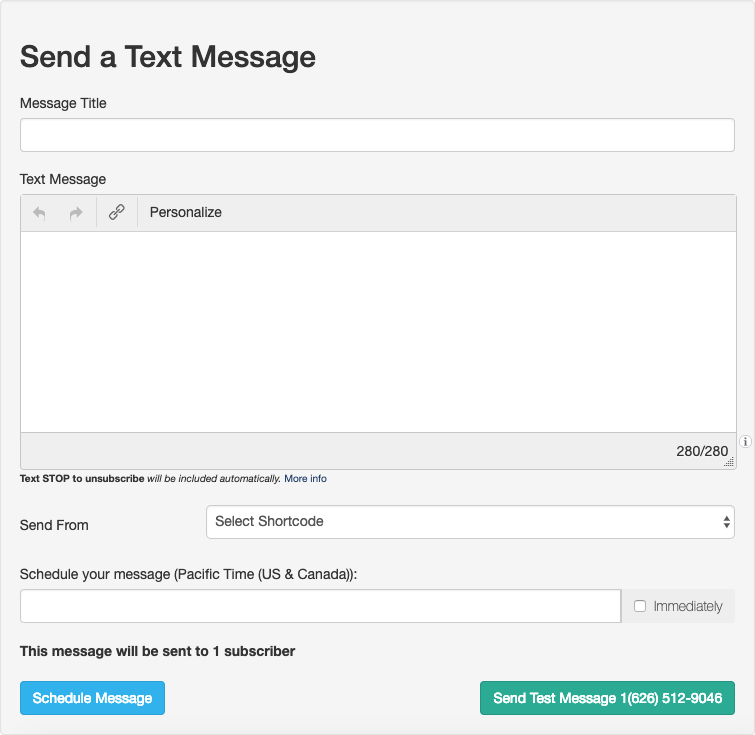
Select Send Message to be directed to the Send a Text Message where you can compose a new text for your selected guests.

After composing your Text Message and completing the other fields, click Confirm & Schedule to send or schedule your text.
For more on composing and sending text messages, click here.
After clicking Confirm & Schedule, you'll be directed back to Manage Guests with a Success banner message.
