When a supporter completes your form, whether it is a donation form, a survey, or anything else, they are then taken to a Confirmation Page. This page thanks them for their contribution and can give them action items. It is fully customizable with the settings below.
To start, you need to be in the activity, and then click Confirmation Page from the left navigation.

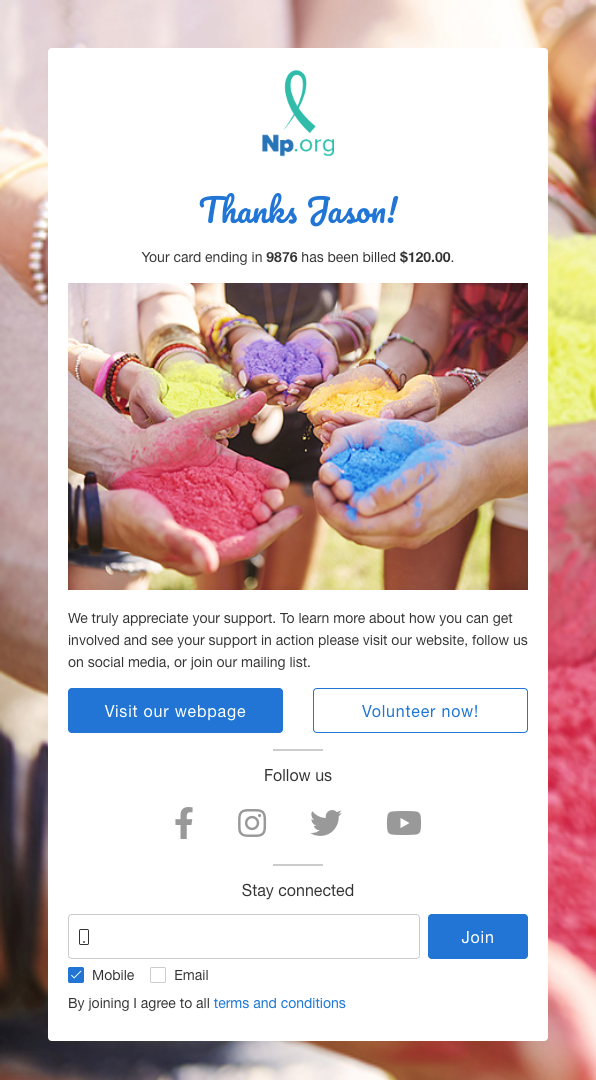
The design of the page is divided into two parts, the Content Section and the Actions Section. The Content Section contains the items in the top half of the form and is the acknowledgement that your supporter has completed the form successfully (i.e. completed their donation, etc.)
The Actions Section gives your supporter something to do, such as go to another page, follow you on various social media channels, and sign-up to receive emails or texts.
Content Section
Thanking your supporters should be done quickly and often. That starts with the Confirmation screen, where you can immediately thank them for their contributions. The Content Section gives you an initial touch point and confirms their information, such as the donation amount from the form.

Title
The Title gives a personal touch to the Confirmation page. By default, it will say "Thanks, [first_name]!" in a cursive font for that personal flair. All of the items on the Confirmation Page can be hidden with the Show/Hide switch.
You can also edit the Title by clicking the pencil under the word Show.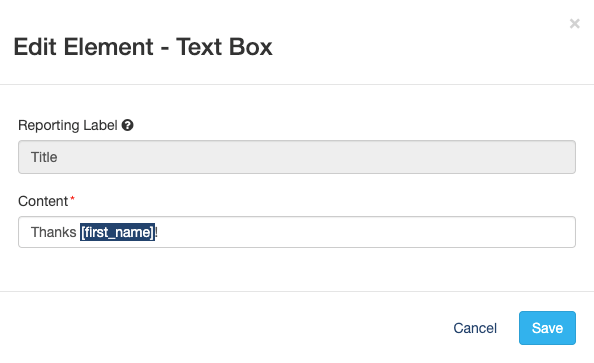
The Content can be anything you like, you can be more formal and say "Thank You" vs. "Thanks" by editing the line. You can also change the color and style of the font.
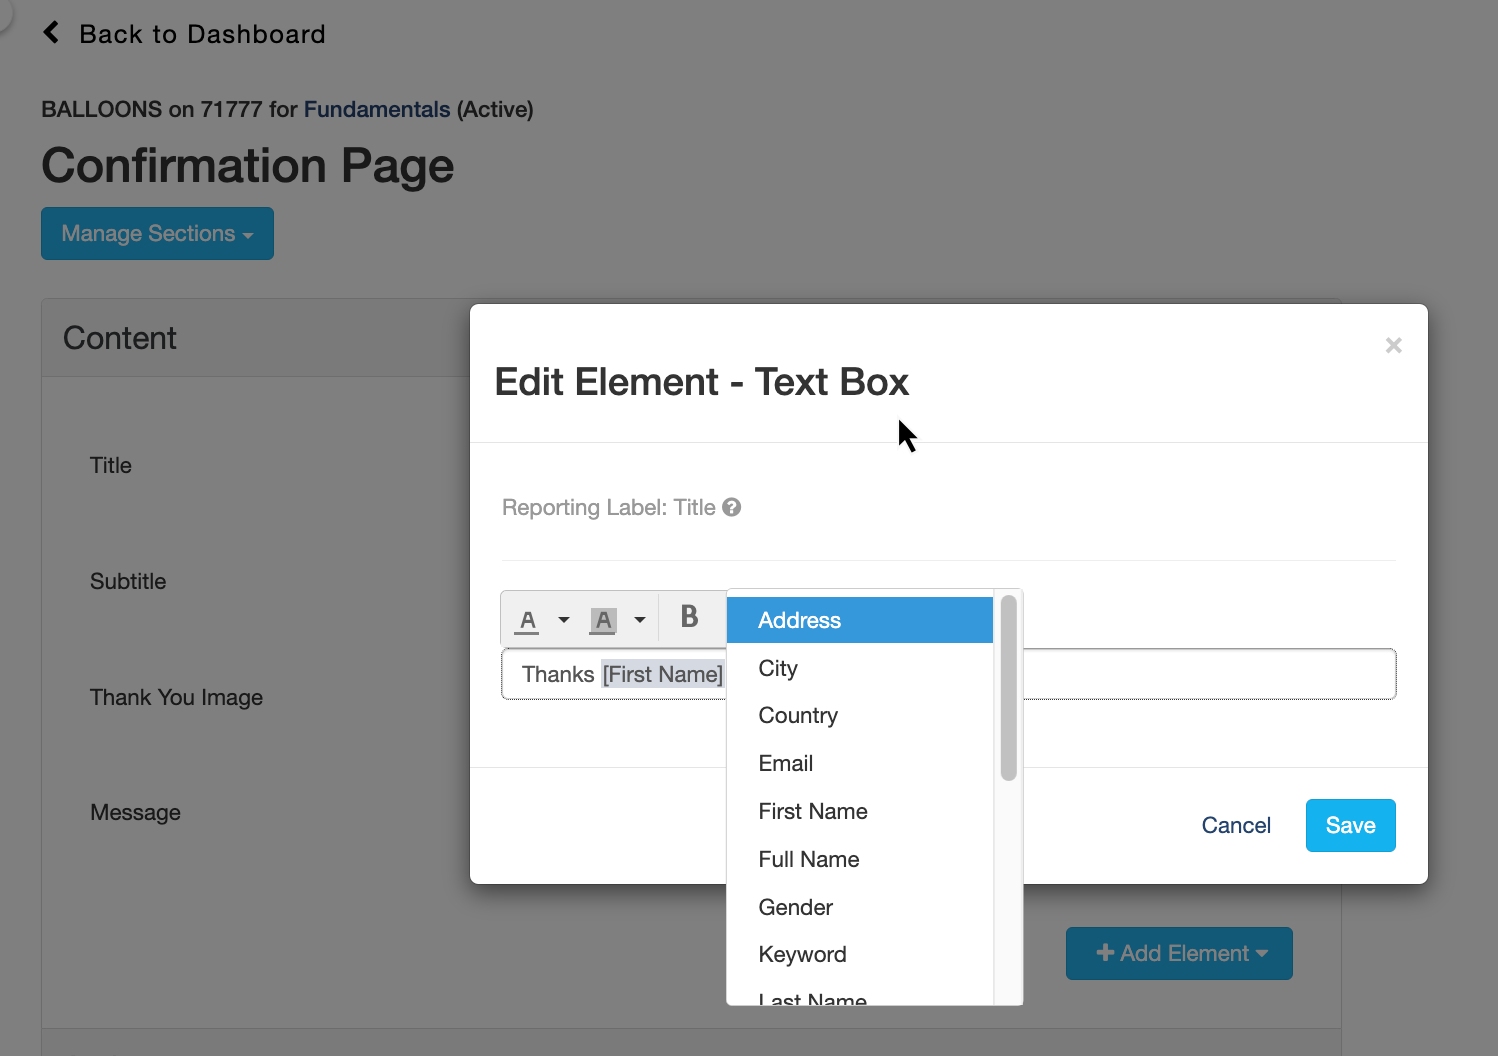
It does allow for variables, so the standard collected information on the form will be available in the Variables list. However, it will not have any additional/custom variables you may have added to the form.
Subtitle
Payment forms (Donations, Tickets, Payment, etc.)
The Subtitle refers to the automated confirmation message about billing the credit card. This automatically shows the last four digits of the credit card and the amount that was billed.
Non-Payment forms (Surveys, Volunteer Sign-Ups, etc.)
The Subtitle says "Thanks for your support! Your information has been saved." to indicate the completion of the non-payment form.
There is nothing editable on the Subtitle other than to Show or Hide the element.
Thank You Image
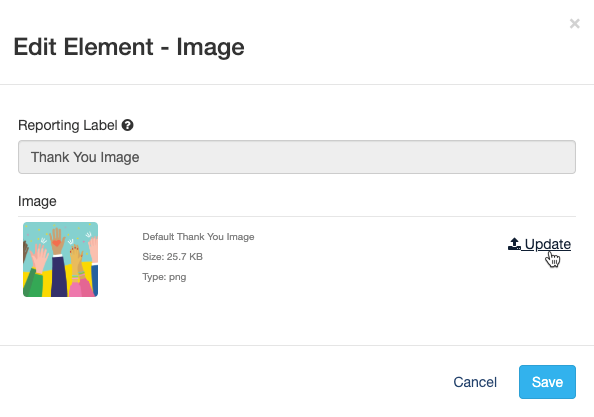
The Thank You Image is a photo to show your appreciation. If you prefer not to use an image, you can use the Show/Hide switch to disable it. To edit the image, click on Update and upload an image, then Save it.
Message
The Message Element is a standard Text Element, which you can format with the rich text editor to make things bold, italic, change the font size, color, etc.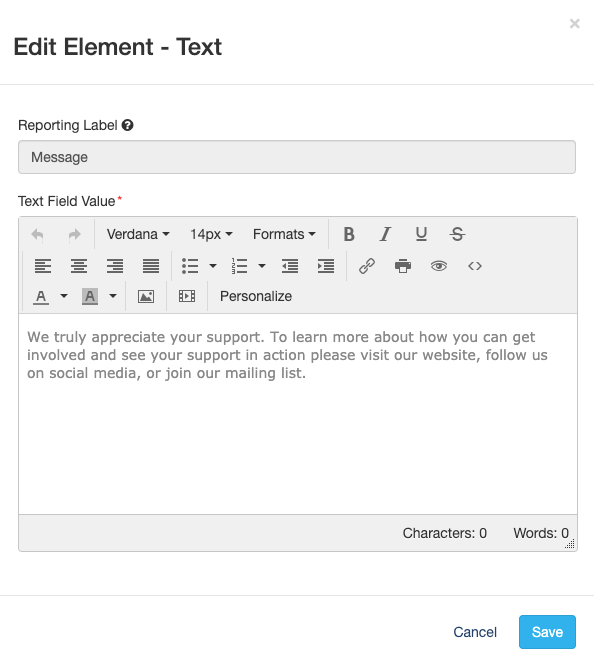
You can also click Personalize to add extra information to your content from the standard fields in your forms.
At this time, added form element items are not available in personalized messages on the Confirmation Page.
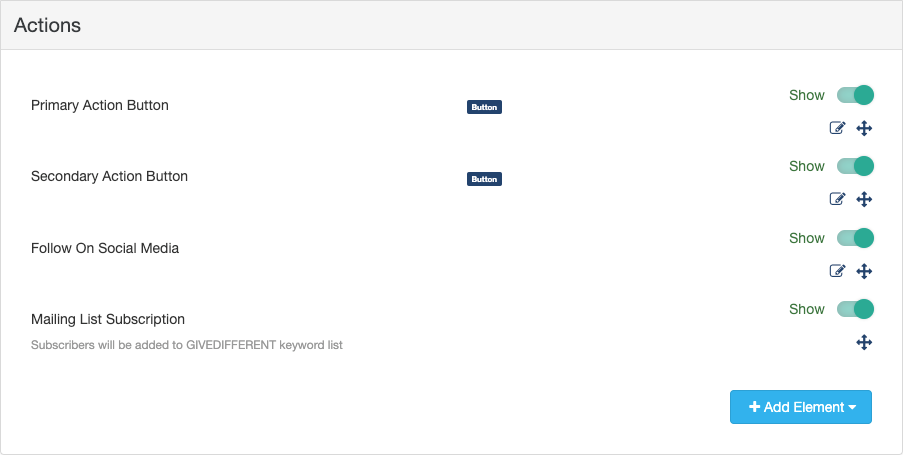
Actions Section
If you would like to give your supporter next steps after they complete the form, the Action section gives you four different options for your supporters to complete.
Primary Action Button
After your supporter completes their donation, you may want to send them to your organization's web page or ask them if they would also like to volunteer after they've completed their donation, etc. The Primary Action button allows this functionality by providing a personalized button (up to 20 characters) and a link to the new webpage.

If you use the Primary Action Button without a Secondary Action Button, the button will expand to the width of the confirmation page. If you use both, they will be side by side.
Secondary Action Button
Do you want to give your supporters a choice? Then add a Secondary Action Button. The Primary Action Button will fill the button with the Activity's main color, whereas the Secondary Action Button will use the color to outline a white button and then fill when the supporter puts their cursor on it. 
If you use the Secondary Action Button without a Primary Action Button, the button will expand to the width of the confirmation page. If you use both, they will be side by side.
Follow On Social Media
Gain followers on your preferred Social Media with the Follow on Social Media option. You have the choice to show links to Facebook, Instagram, Twitter, and YouTube.
You can enter them here manually or add them in the Shared Settings under Account Settings so they will populate to all the Confirmation pages.
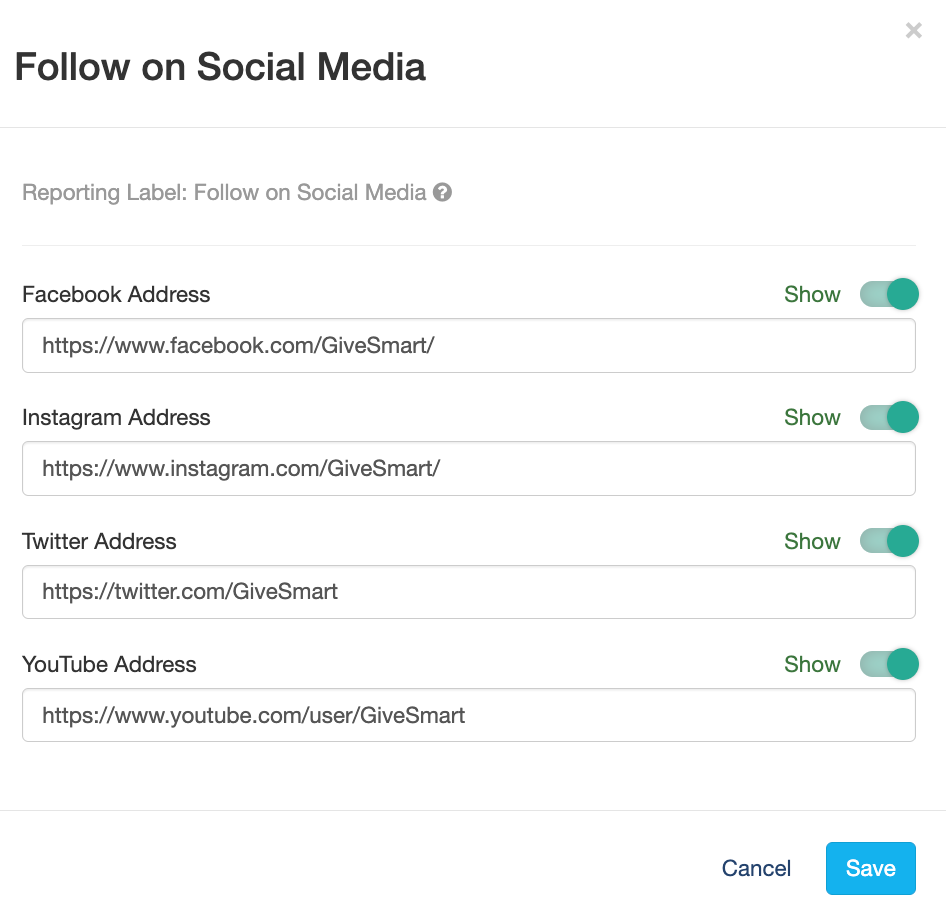
If you don't have a presence on one of these Social Media channels, you can click on the Edit button and turn off any you do not use or all of the Social Media options can be hidden with the Show/Hide switch.
Mailing List Subscription
Depending on how your supporters reached your form, you may or may not have collected their mobile number or email address, and if you leave those as optional entries on the form (not generally recommended), you may not have those contact points available. By enabling the Mailing List Subscription feature, you can not only make sure to collect either your supporters' Mobile number or Email, but you will have supporters explicitly opt-in to receive messages from you, which indicates that they are more enthusiastic about learning more and hearing from you.
Note: When supporters use one of your Keywords to text into any of the forms, that number is already automatically added to the subscription list and you can add email addresses to any of your lists at any time if they provide it. It is an implicit opt-in concept.
The Mailing List Subscription option is explicit, so supporters directly opting in through this method are more likely to stay as a supporter.