GiveSmart Fundraise supports an unlimited number of users on your account. If there are others in your organization that need access to the platform you can easily add additional users. From the Users category, you can create new users, edit existing user accounts, delete users and, if you have the optional feature enabled, set different security settings.
Accessing User Accounts
- Click on Settings.
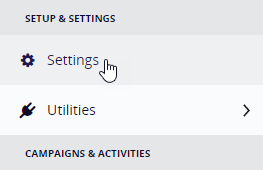
- It should automatically drop you into the Users section, otherwise, click Users on the left.
NOTE: If you do not see the gear wheel icon, then your user does not have Admin privileges. Please contact your account admin to ask that they give you the required privileges to access the Account Settings.
Add New Users
- Click the Add User button in the upper left.
- Enter the new user's Email Address
- It is not recommended to use the Username option.
- While in some cases you can use a username to log into GiveSmart Fundraise, this functionality is being phased out, as it is not compatible with switching between GiveSmart products.
- Create a Password for them.
- Enter that same password in the Password confirmation.
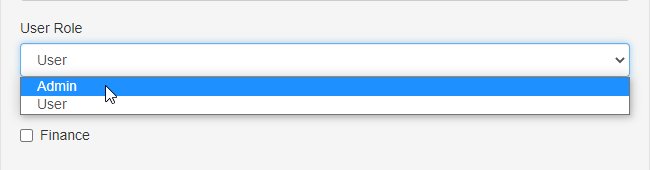
- If you want this user to be able to access the Settings tab in your account, use the drop-down and select Admin.
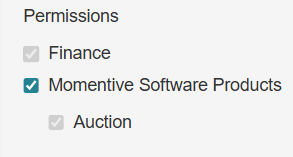
- If you want this user to be able to Void or Refund transactions and update recurring donations, check Finance.
- Admin Level accounts automatically have the Finance flag checked.
- If you own 2 or more GiveSmart modules, you may have an additional checkbox for Momentive Software Products.
- Checking this box will provide this admin with a single sign-on experience and will allow them to navigate between all GiveSmart modules owned (Events, Fundraise & Donor CRM).
- NOTE: Only admins who currently have the Momentive Software Products box checked will be able to enable this feature for additional admin.
For more information about the different types of User accounts and what they can do, click here.
- Enter the user's Name
- This will be displayed in the upper right of the GiveSmart Fundraise application when they are logged in.
- Enter the user's Mobile Number.
- Entering their mobile number allows them to send test messages to verify the text looks the way they want before they send the text message to a wider group of supporters.
- Enter the user's Time Zone
- Text messages scheduled by this user will send according to their time zone).
- Click Create User
- When you click Create User, you will be shown a confirmation screen that let you verify the information you have entered.
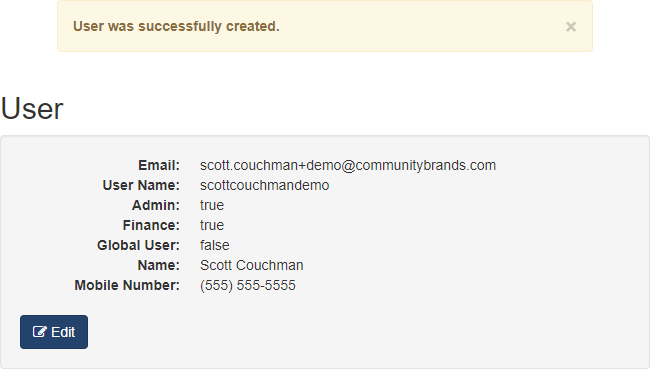
- If you made a mistake in creating an account, you can immediately edit the account by clicking the Edit button on the confirmation page, or later as described below.
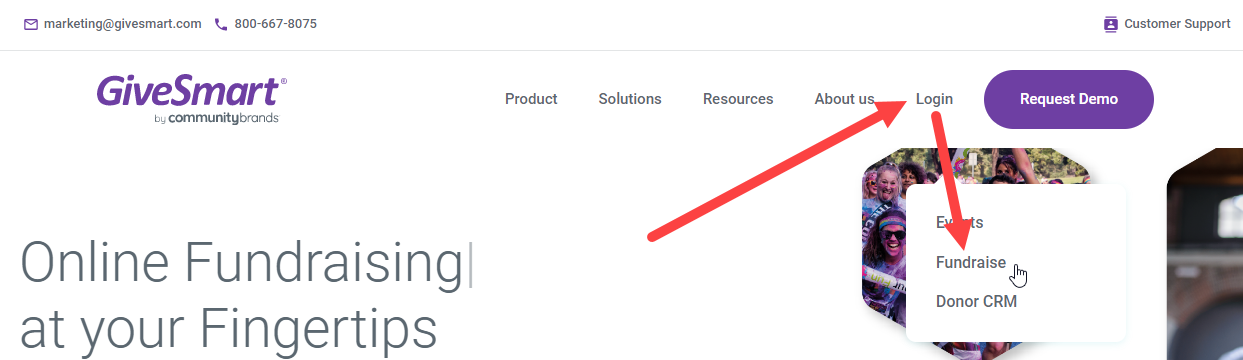
- Instruct your users to go to www.givesmart.com and select Login at the top right.
Note: it is highly recommended to bookmark the application page https://fundraise.givesmart.com/ vs. going to www.givesmart.com every time. It saves you time and you don't need to find the correct application, etc.
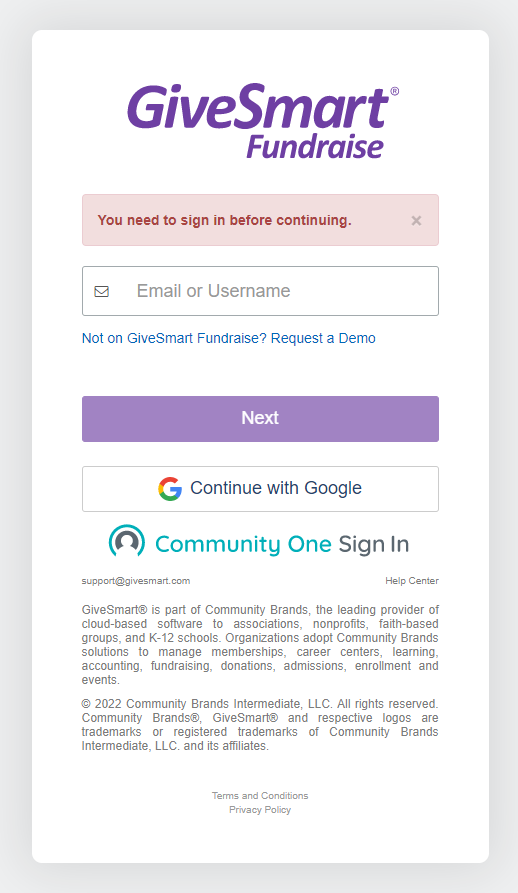
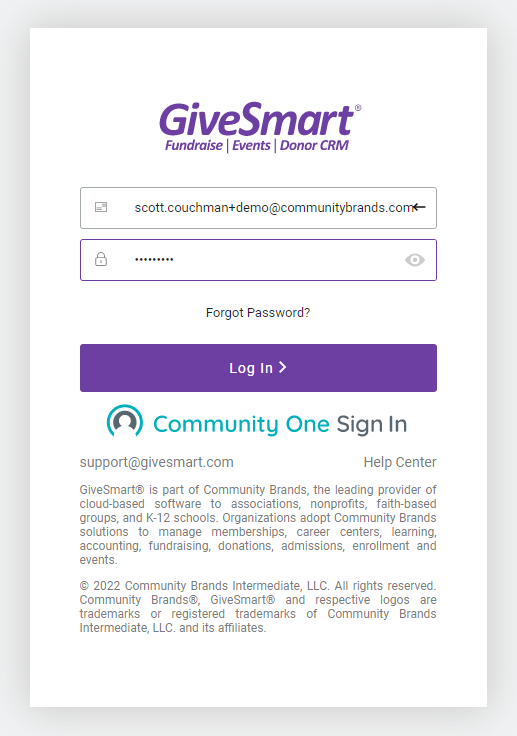
- Users then enter their Email and Password and select Log In to access their account.
 |  |
Edit Existing Users
- Go to the Users section of the Account Settings.
- Click the Edit icon in the Action column by the user you wish to edit.
.png)
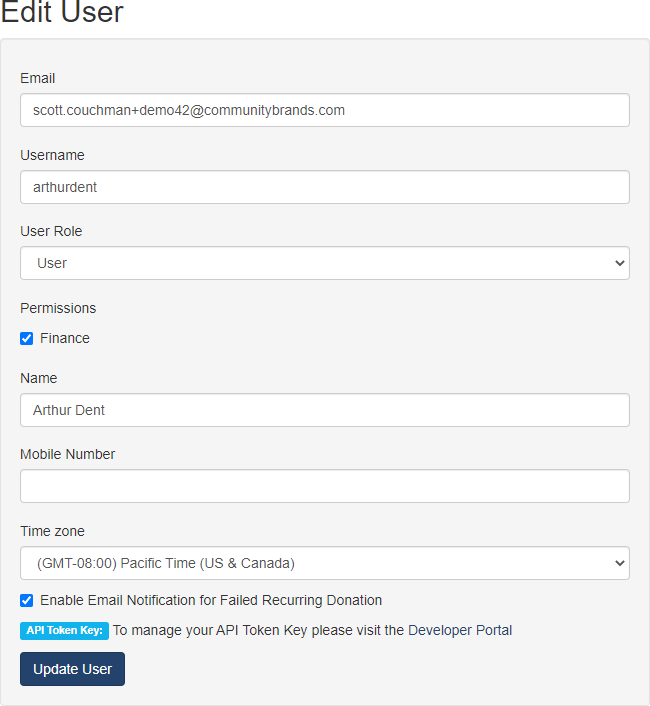
- The Edit screen has the same options as the Create New User screen above.
- The one addition is that when you edit a user, you can have them emailed when a recurring donation fails to complete its processing. That way this user can then reach out to the donor to update their credit card information or determine the issue. For more on managing recurring donations, click here.
- Put a check in the box to Enable Email Notification for Failed Recurring Donation for this user if desired.
- When you are done making changes to the user account, click Update User.
Delete Users
- Go to the Users section of the Account Settings.
- Click the Delete icon (the trashcan) in the Action column by the user you wish to delete.
.png)
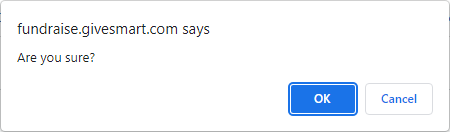
- You will be shown a pop-up to confirm the deletion. Click OK to permanently delete the user.