Collect your supporters' information with the Contact Information section. Depending on the type of survey you are creating, you may make some items required but others leave as optional. We always recommend having a minimum of one method of communication as a required item so that you can reach out to your supporter in the future.

Section Heading
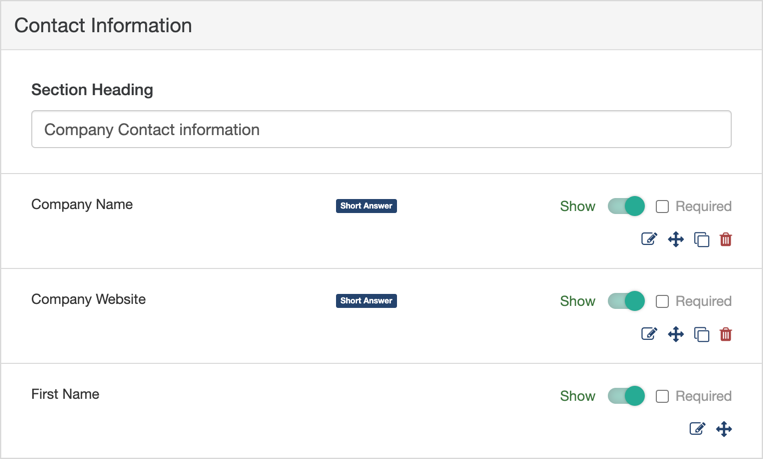
This is where you can change the wording of the section header that is displayed above the corresponding section on your form. You can also leave it blank if you don't want the line to show.
Contact Information Fields
Here you can independently configure personal information fields. You can:
- Hide the field with the Show/Hide switch if you don't need to collect that information.
- Make the field Required by clicking the checkbox.
- Edit the name of the field by clicking the Edit (Pencil) button.
Add Other Fields
You may want to collect additional information, such as the supporter's company, website, and more.
These can be added using the Add Form Elements button and most of the items you would wish to add could be added with a Short Answer type of element.
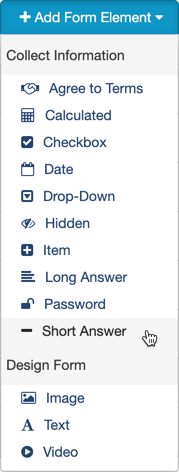
- Click Add Form Elements
- Select Short Answer
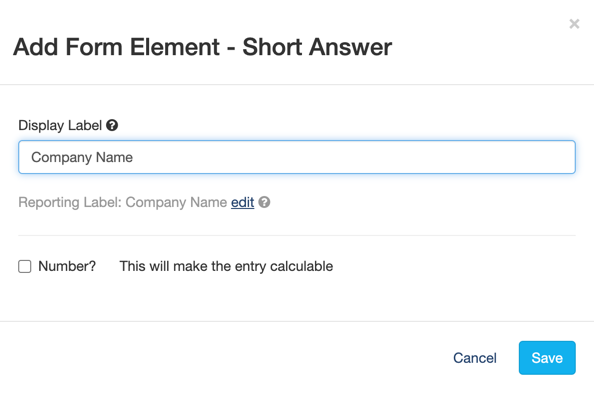
- Display Label: Type in what you want to be displayed on the form for this element, such as Company Name or Company Website
- The Reporting Label will default to the Display Label. This is what will appear as the item in your reports. If you want to change it, click edit.
- Selecting Number? would turn this into a field that only accepts numbers, so you will likely not need to check this.
- Click Save
Moving Form Elements
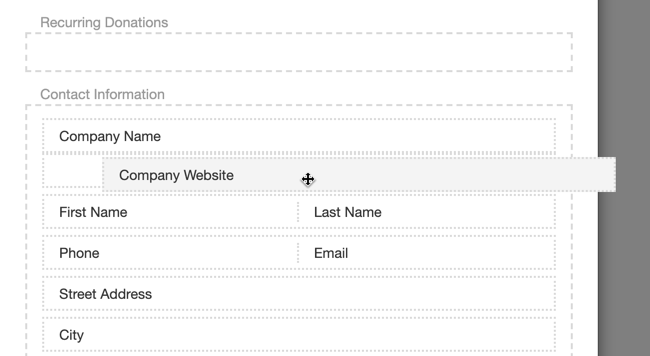
You may want to rearrange the elements on the form as you think of new pieces of information you want to collect. Click on the Arrows icon to open a wireframe view of the form to move the item: It will list each element on the form in each section.
- Click down on the element you wish to move and drag it to the correct position on the page.
- When it is where you want it to be, release the click and it will settle into place.
- Scroll down and click Save when you are done.
Both in the designer and on the form itself, the moved items will have moved to the desired position.
Your Contact Information on your Survey form is now ready.