Before you can send emails from GiveSmart Fundraise, you will need to:
- Connect your GiveSmart Fundraise account to a Constant Contact account, as outlined here.
- Have email lists to send to:
- For how to sync your Constant Contact email lists, click here.
- To manually import your email contacts into GiveSmart Fundraise, click here.
- Have at least one verified sender email in your Constant Contact account.
- Click here to learn more.
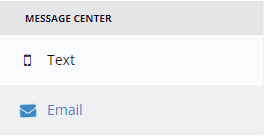
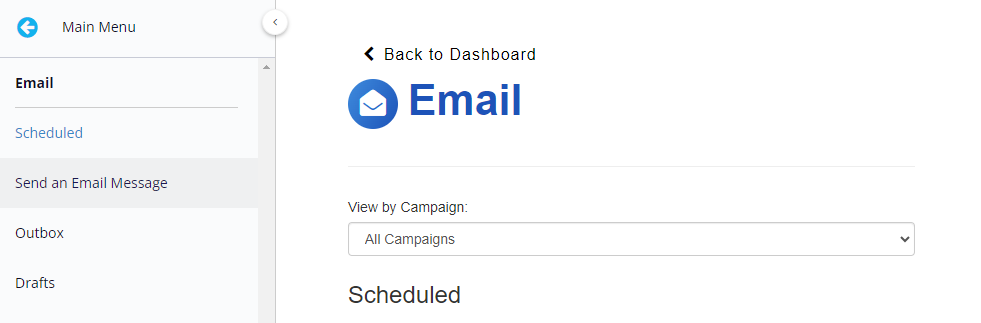
Now, to send emails, click Email under the Message Center within the left navigation bar.
Then click on Send an Email Message from the left navigation bar.
You'll be taken to the Email Design Studio which is comprised of 4 steps:

Setup - Select Message Type
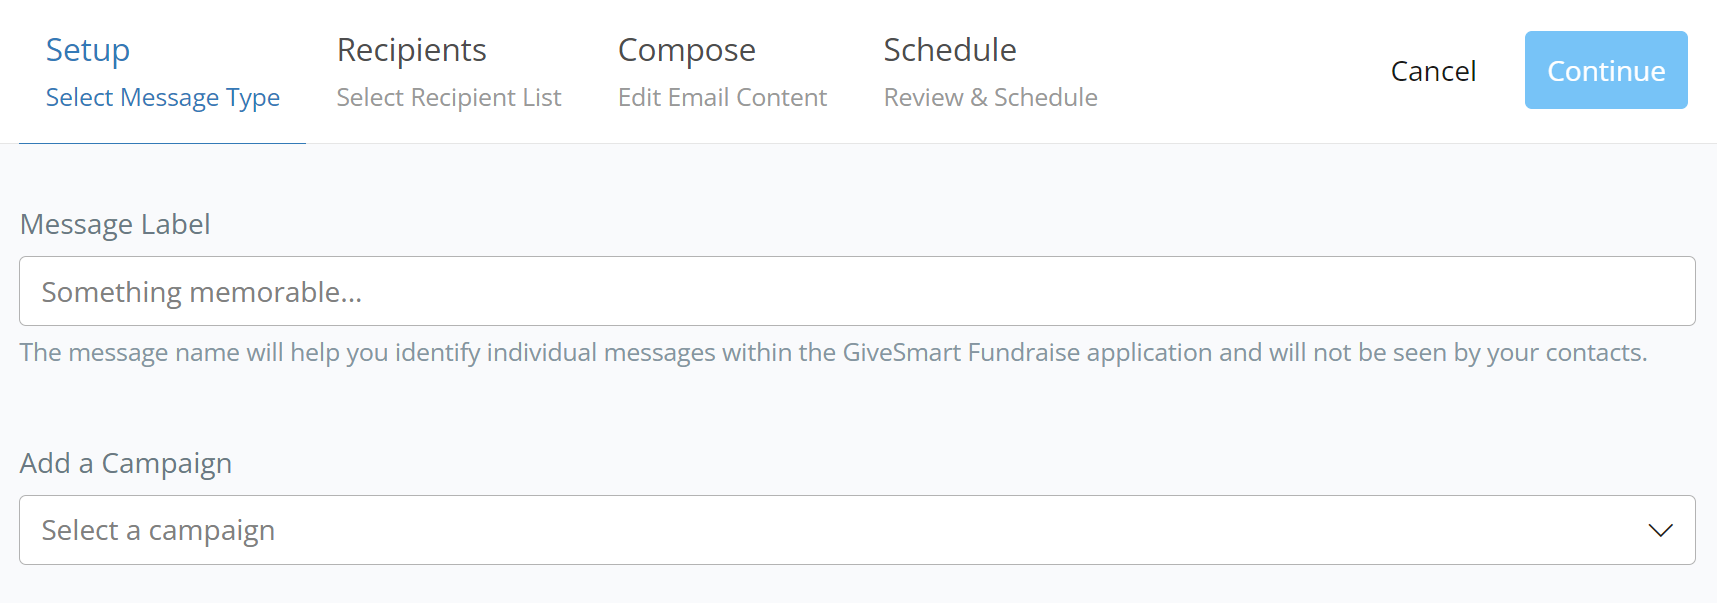
You need to give your message a label. This is only for your reference. The label is for you to be able to find your message easily later.
You need to select a campaign. All messages need to be associated with a campaign for reporting and filtering.
Click Continue in the upper right to move to the next step.
Recipients - Select Recipient List

Select the list(s) you wish to send this email to. Lists are created and maintained in Lists within the left navigation bar seen when on the Dashboard. Only lists with emails included will show on this screen.
If you have many lists, use the Search List feature at the top to find the appropriate list.
When the recipients have been selected, click Continue. At this stage, you've started an email, so if you wish to come back at a later time to finish the message you can click on Save & Quit to save it as a draft.

Compose - Edit Email Content
This is where you design your email.
To edit items in the email:
- Hover over an item to see what editing this will affect.

- Single Click to select that item. This will also activate the Design options for that specific section on the right side of the screen.

- Once an element is selected, using the icons above on the right, you can:
- Move the element elsewhere in the email
- Copy the element
- Delete the element
- Double Click to directly edit the content of the element

Images
Double click on the image to upload a logo. More editing options will pop up to the right. Use the Link to Page to link the image to a URL. You can change the Alt Text, Alignment, and Width of the image within the element.

Images will be stored in the cache as you design your email. What this means is that when you upload an image to use, and later decide you don't want that specific image, it will still be available from the Select Image screen, if you want it at a later point. These images will be stored until you send the email, and only from the one computer.
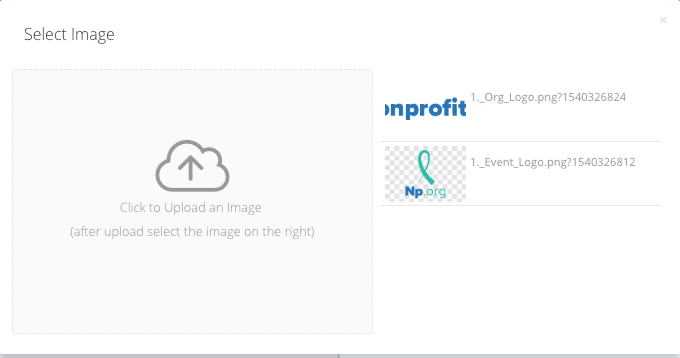
A single click will select the image and place it in the email. If you double-click it, it will close the select image screen. You can also click the X in the upper right to close the Select Image screen after choosing the desired image.

Text
Format the text using the options on the right. You can change the Font, Text Size, the Color and the Alignment within the element.
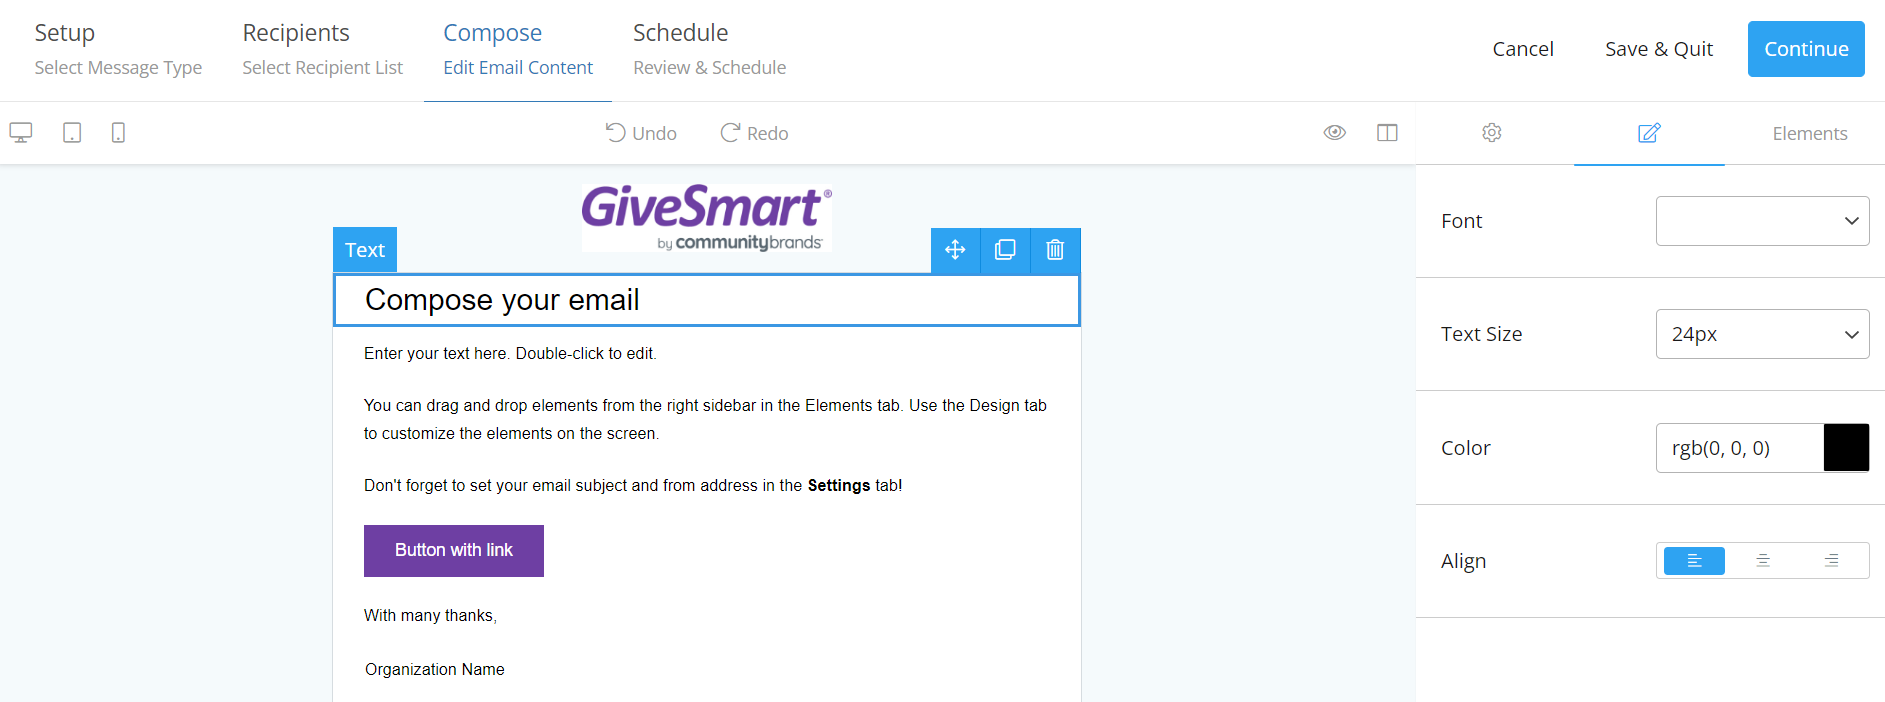
Enter a color using a hex code, rgba code, or click on the color square to manually adjust the color and its transparency.

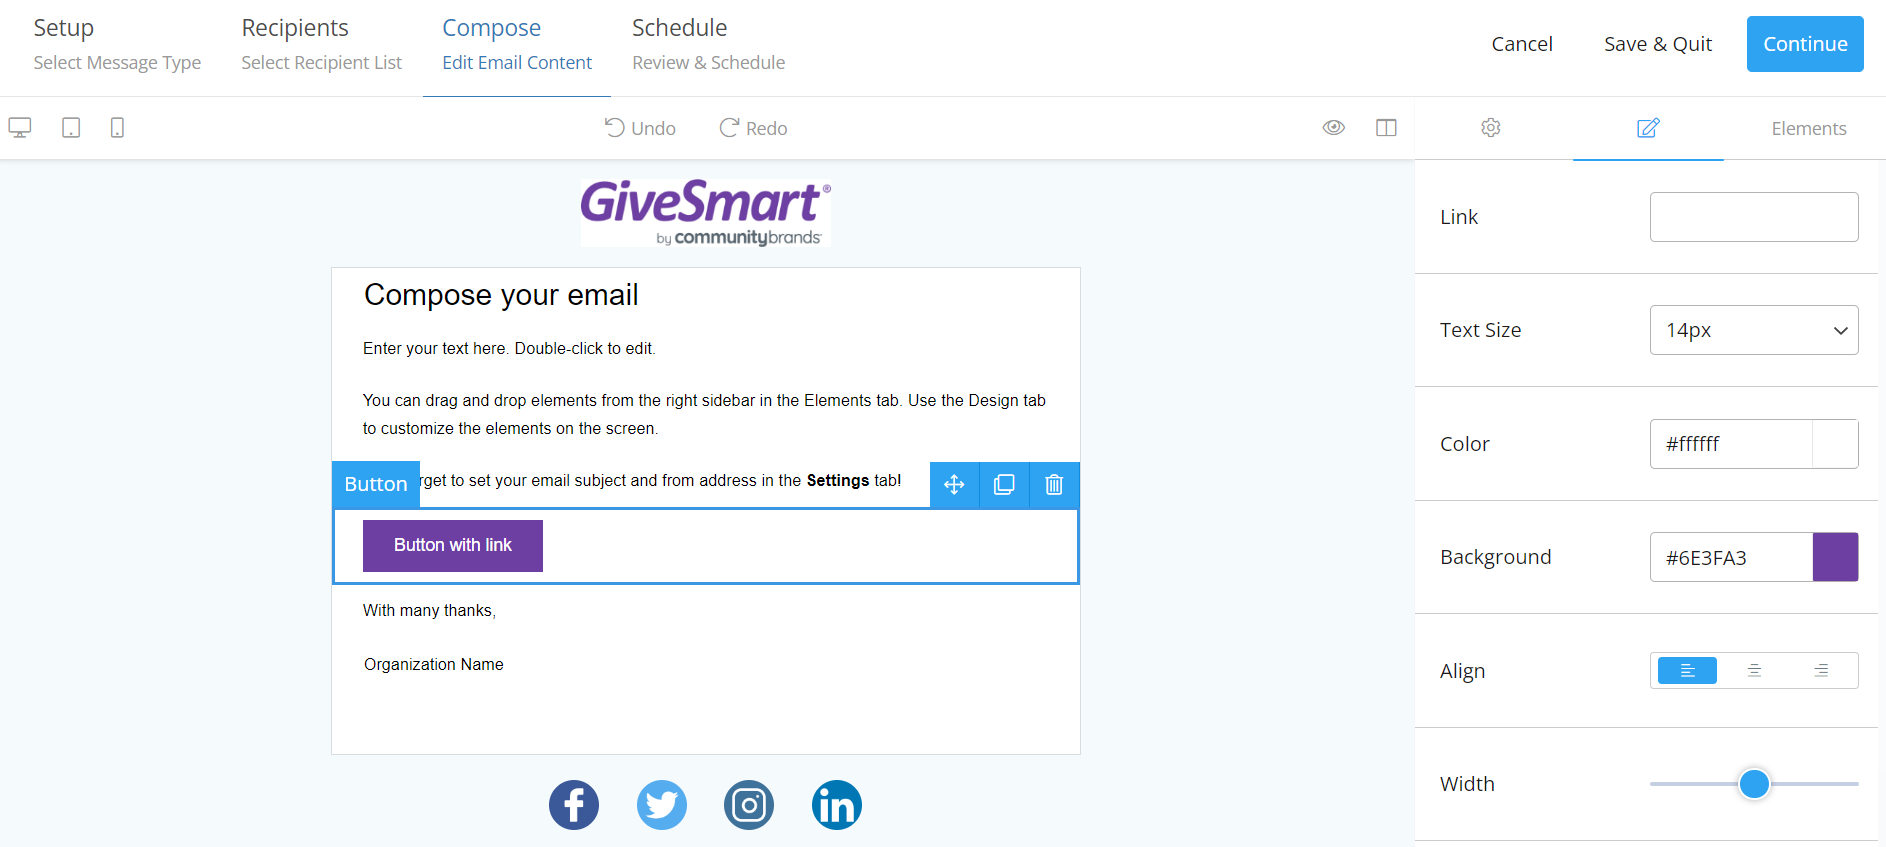
Buttons
A button's options on the right allows you to add the Link to where the button should go and then change the Text Size, Color of the text, the color of the button in the Background, the Alignment of the button in the element, and the Width of the button.
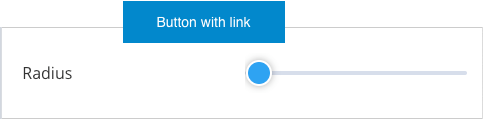
Control how square or round the button is with the Radius slider.

Social
The social icons show by default: Facebook, Twitter, Instagram, and LinkedIn.

To remove a social media button, delete the word from the Display area.
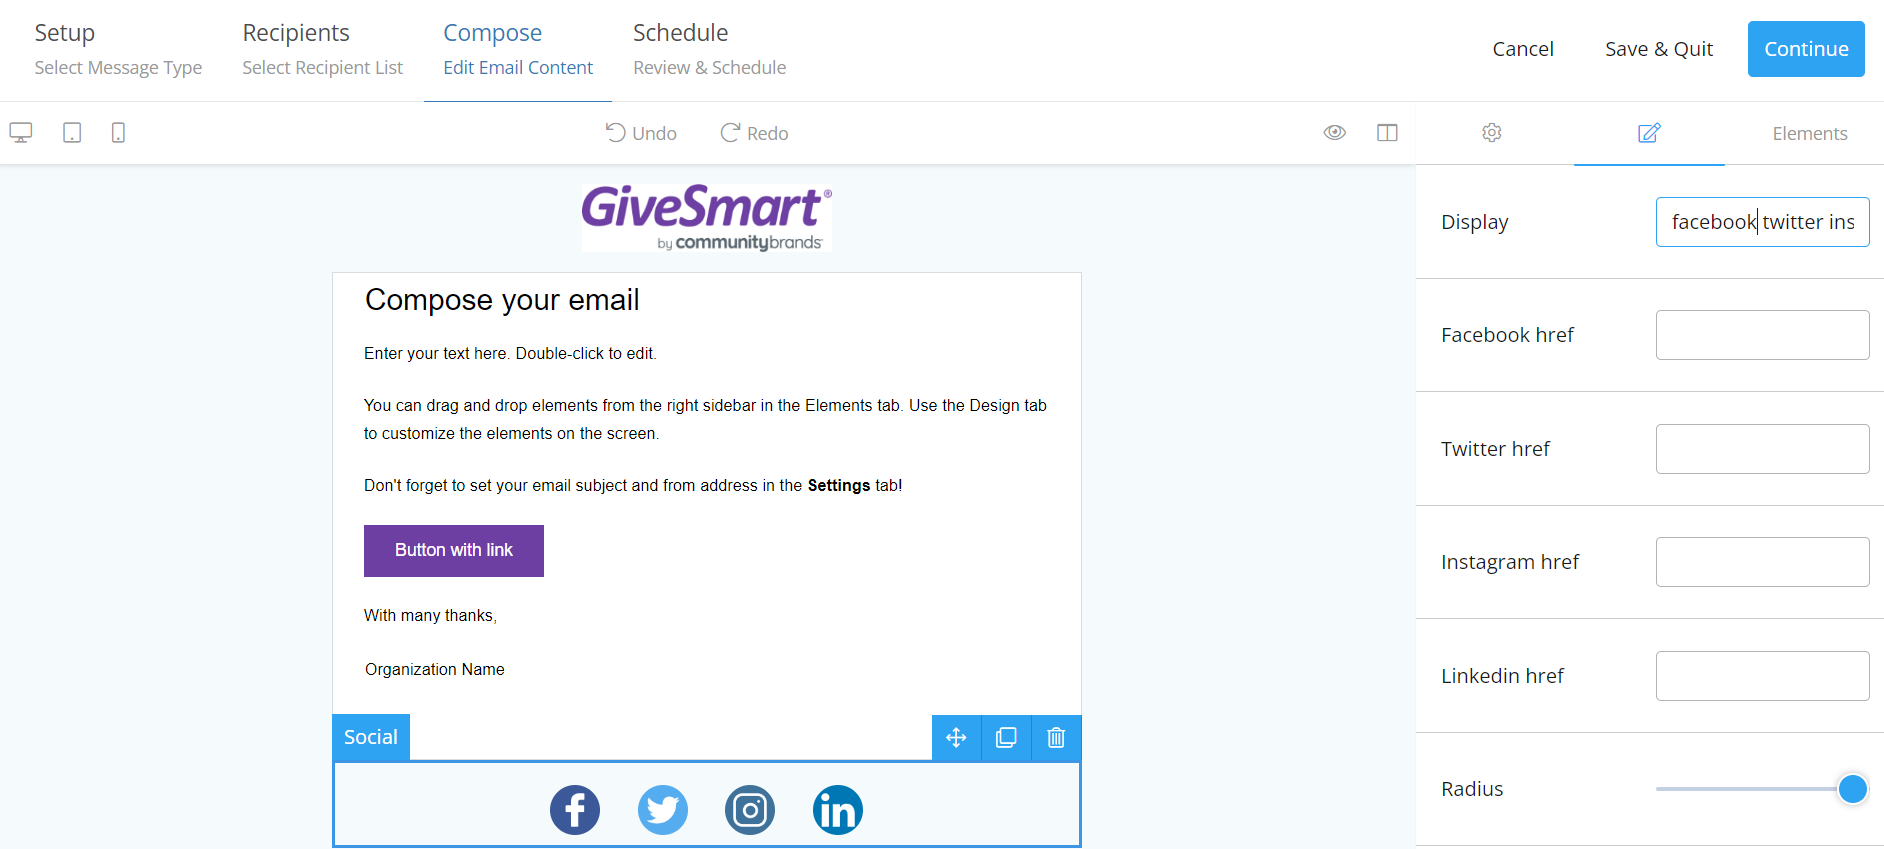
Example: If you didn't want to have Facebook in your email, you would delete the word "facebook."
The different social media items will need to be personalized with your account information. By default, they only show the main page; i.e. "https://facebook.com/" So for each displayed social media "href," you will want to add your organization's link.
Example: https://twitter.com/GiveSmartUSA

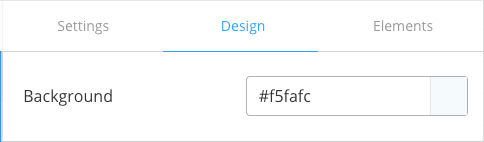
Background
Click anywhere on the background to then be able to change the email background color.
Elements
If you delete something from your email design by accident, or you want to add something different, click on the Elements icon to add Images, Buttons as well as Spacers and Dividers.
Simply drag the element you wish to add to the place you want it within the email itself.

Spacer
The Spacer adds additional white space to your email. When selected, adjust how tall the spacer will be.

Divider
The Divider element adds a horizontal line in your email. When selected, adjust the:
- Width of the divider across the email
- Thickness of the line created
- Style of the line, whether Solid, Dashed, or Dotted
- Color of the line

Controls

When designing your email, view how the email will look on a desktop, tablet, or mobile device using the controls in the upper left.
Undo or Redo a change with the controls in the upper middle.
Use the eye on the upper right to preview the email.
Show or hide the element grid lines on the email, to essentially view it in edit vs. preview mode.
Settings
You will need to complete the Settings section before continuing to the Schedule phase. Click on the Settings gear icon on the right and select the From and provide a Subject line for your email.
IMPORTANT: In order to send an email in GiveSmart, you will need to have at least one verified email address in your Constant Contact account. If there are no available senders to select in the "From" picklist prior to scheduling an email, you will need to log in to your Constant Contact account and follow their email validation steps. Once complete, the validated email(s) will be available to select as the From/Sender Address.
Click here to learn how to verify an email address in your Constant Contact account.

When your email is ready to send, click Continue.
If you forgot to add the subject line or the From (Sender) information, you will be redirected to the Settings tab.
Schedule - Review & Schedule
The Schedule screen will allow you to send the message immediately or choose a Date and Time for it to go out. You can also click on edit to go back to the Compose screen to make changes to your email.
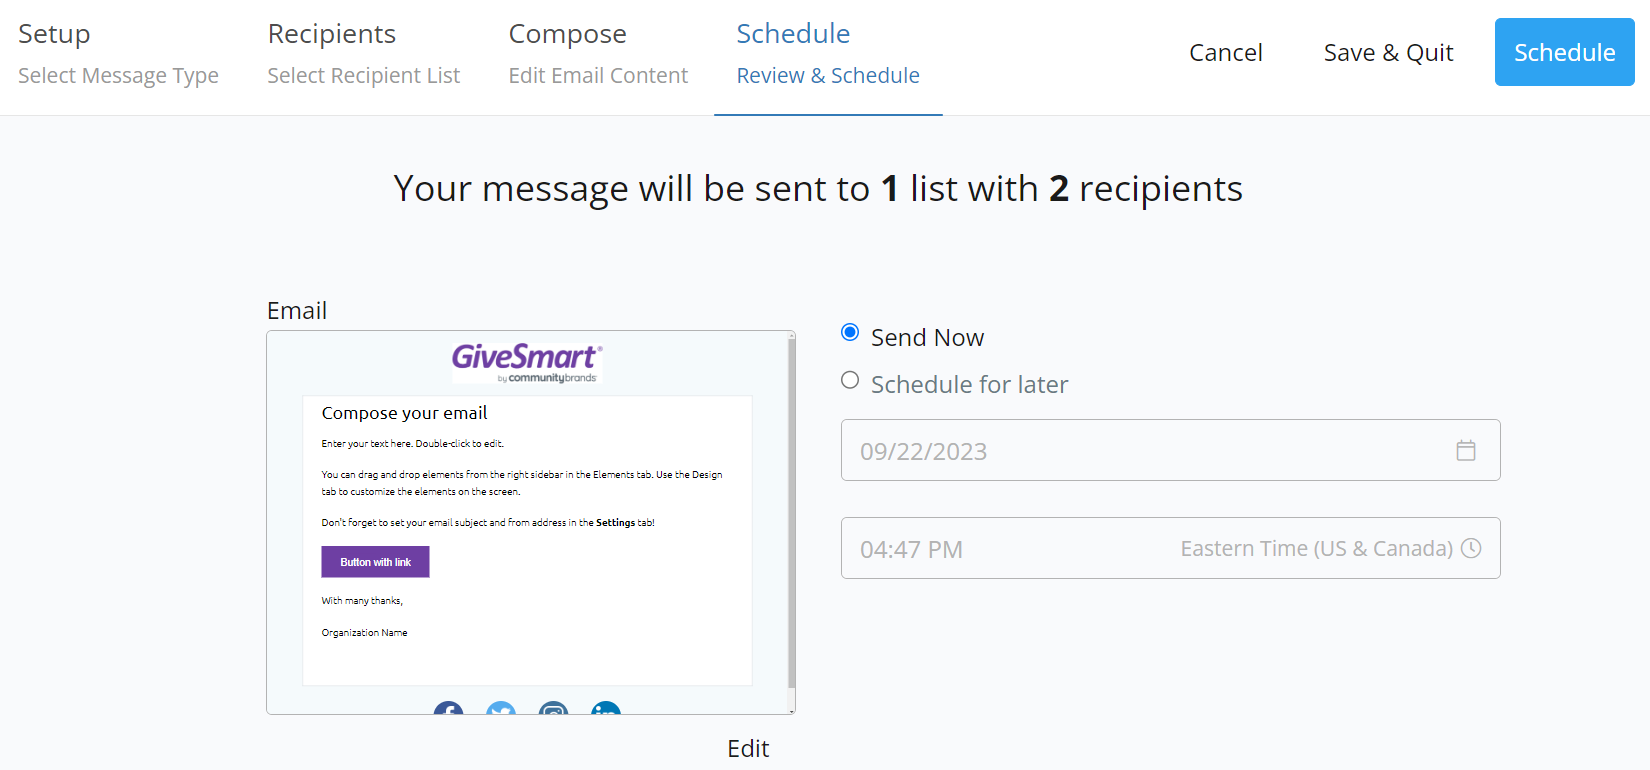

Note: You can always go to a previous step using the Step Titles at the top of the Studio.
If everything is ready, click Schedule in the upper right to send or schedule your email to send.

You will be taken to the confirmation screen letting you know the message is scheduled to send. You're done!

Now, you can use GiveSmart Fundraise to track the message. For more information, click here.