You can copy your reporting data from GiveSmart Fundraise to GiveSmart Donor CRM with a few simple clicks.
Exporting Donor Data from GiveSmart Fundraise
The first step is to gather your data from GiveSmart Fundraise. This is similar to any other Search Transactions report you may run. This article provides a streamlined process. For full information on running a Search Transactions report, click here.
Generate Report
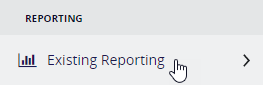
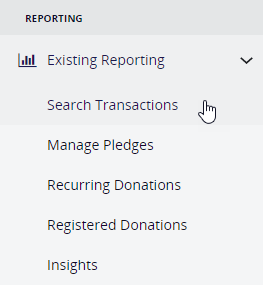
- Go to Reporting > Existing Reporting > Search Transactions
- Build the report you wish to export. For more information on the options in the Report Builder, click here.
- Click Search when ready.
Review and Export
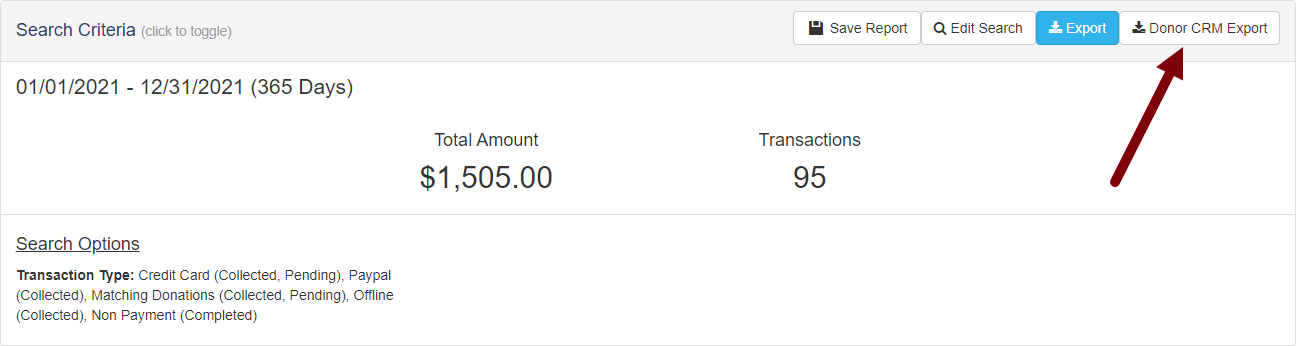
- Make sure your search criteria at the top of the generated report page have the correct information, especially the date range.
- Click the Donor CRM Export button in the upper right.
Save Report and Working with the Save
You have now exported the data and can start the import process for GiveSmart Donor CRM. But, it is very likely that you will have new donors, new supporters that you will want to import at a later time. To make this process easier, and to avoid potential duplicate entries, save your GiveSmart Fundraise report.
- Click the Save Report button and give your report a memorable name, like Donor CRM Export or whatever you prefer
.png)
- Click Save Report
Accessing the Saved Report
Now when you are ready to run the report again, you can:
- Go to Reporting > Existing Reporting > Search Transactions
- This time, click on the Saved Reports tab
- Click on the name of the report you wish to run (such as Donor CRM Export)
- All your previous search criteria will show and be used to run the report
- Click on Edit Search
- Change the Date Information
- Scroll down and click Search
- Export your new Donor CRM data with the Donor CRM Export button
Export Files
The Exported files will be two CSV (comma separated value) files in a zip. It is listed as "donorcrm_export_####_[date of export].zip"
For example, donorcrm_export_2051_20220912.zip
You will need to unzip the file to have direct access to each of the CSV files for import.
In the Zip, the two CSVs will be:
- donors__####_[date of export].csv This includes the Donor CRM Fields for the donor information:
- DONOR_ID: A unique database ID to differentiate between each donor.
- FIRST_NAME: First Name
- LAST_NAME: Last Name
- CREATED_AT: The date this donor first was added to the GiveSmart Fundraise system
- CONTACT_METHODS_DICT.CELL_PHONE: Phone number
- CONTACT_METHODS_DICT.EMAIL: Email
- ADDRESSES.0.ADDRESS1: Street Address
- ADDRESSES.0.CITY: City
- ADDRESSES.0.STATE_PROVINCE: State
- ADDRESSES.0.POSTAL_CODE: Zip Code
- txns__####_[date of export].csv This includes the Donor CRM Fields for the donation information:
- TRANSACTION_ID: A unique database ID of the transaction / donation
- DONOR_ID: The same Donor ID in the donor list's CSV
- GIFT_DATE: The date of the transaction/donation
- THANK_YOU_METHOD: Whether a Thank You note should be sent to this donor from within Donor CRM. Since GiveSmart Fundraise automatically thanks each donor, this will default to NO_THANK_YOU to tell Donor CRM no additional thank you note is needed.
- GIFT_AMOUNT: Donation amount
- SOLICIT_NAME: This will display the Activity Type (Fundraising or Crowdfunding) associated to each gift
- SUB_SOLICIT_NAME: The type of transaction, such as a donation or ticket sale
- CAMPAIGN_NAME: This is the friendly name of the campaign within your GiveSmart Fundraise account
- CAMPAIGN_ID: A unique database ID for the campaign
- NOTES: This provides the form name, keyword and shortcode, and campaign name associated to each gift
- SOLICIT_ID: A unique database ID for the activity
- FAIR_MARKET_VALUE: The Fair Market Value of the donation, tickets and/or items included in the transaction
Importing the Data into Donor CRM
Now that you have the export from your GiveSmart Fundraise account, go into your GiveSmart Donor CRM account to import the data.
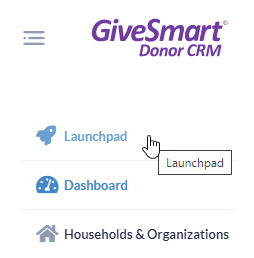
- Click on Launchpad on the left
Import Contacts
- To import contacts, click on Select File in the Import Contacts box
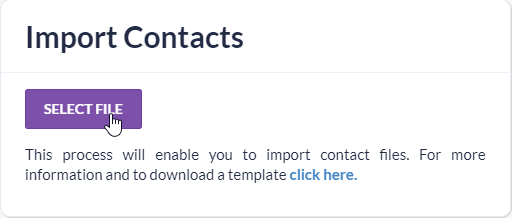
- Select the CSV file from your hard drive wherever you saved/downloaded it. For the Contacts import, you want to choose the donors__####_[date of export].csv
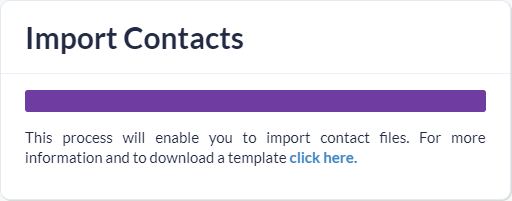
- You will see the progress bar and then a Done message (if you're paying attention!) and then the Import Contacts will revert to normal, so you could enter another csv or import the gifts/transactions.
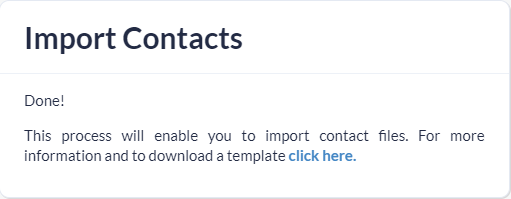
- You will also receive an email letting you know when the import is complete.

- You can check to see the new contacts in your Donors & Contact section.

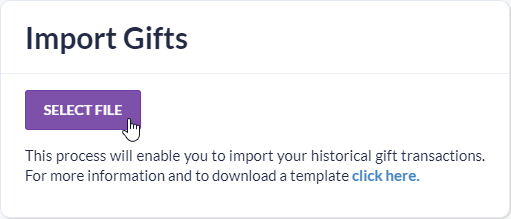
Import Gifts
- To import gifts (transactions), click on Select File in the Import Gifts box
- Select the file from your hard drive wherever it saved. For the Contacts import, you want to choose the txns__####_[date of export].csv
- You will see the progress bar and then a Done message (if you're paying attention!) and then the Import Gifts will revert to normal, so you could enter another csv or import contacts.
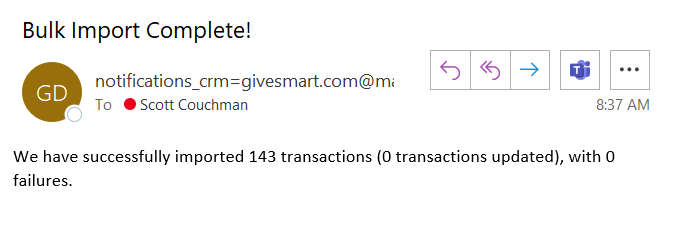
- You will also receive an email letting you know when the import is complete.
- You can check to see the newly imported gifts in your Gifts > Gift listing section.