The GiveSmart Fundraise reports allow you to import the information into FR50.
Export GiveSmart Fundraise Report
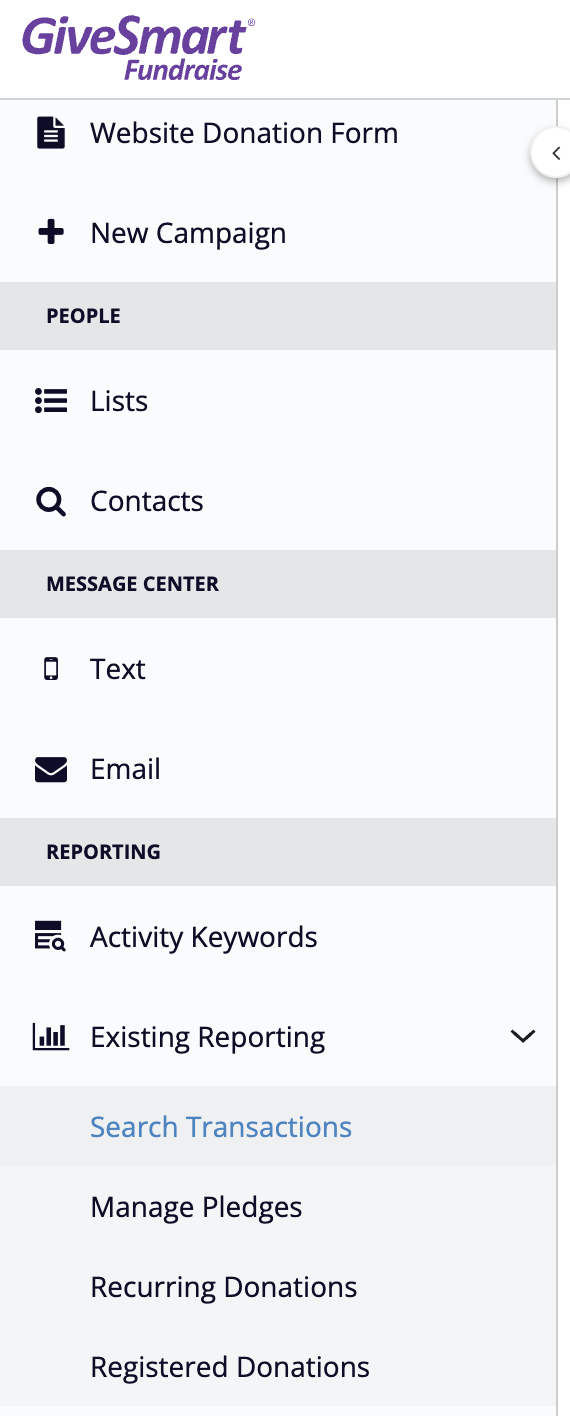
Click Existing Reporting from the left navigation, then Search Transactions:
Choose the Transaction Types of the transactions you would like to get a report on by selecting Credit Card, PayPal, Matching Donations, Offline or Non-Payment. You can also filter by Billing Status.

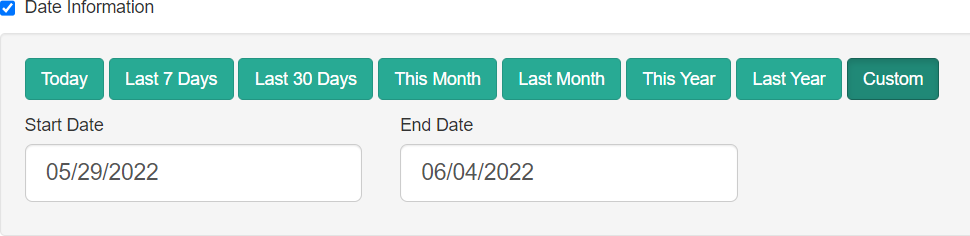
To further filter the results, check the Date Information box and choose a date filter option or enter a custom Start Date and/or End Date.
Under Activities, you can filter by Campaign, Keyword and Form. If you choose a specific campaign, then to further filter by a Keyword, you will only see those keywords within that selected campaign.

In Contact Information, you can look for a specific supporter by Name, Email, or Phone. You can also find them with the Last 4 on Credit Card field found in the Payment Information section below,

In Payment Information, you can filter to only show your larger donors, for example, by searching only for donations of a Minimum Amount, or a range by including the Maximum Amount.

Click Search.
Search Results Screen
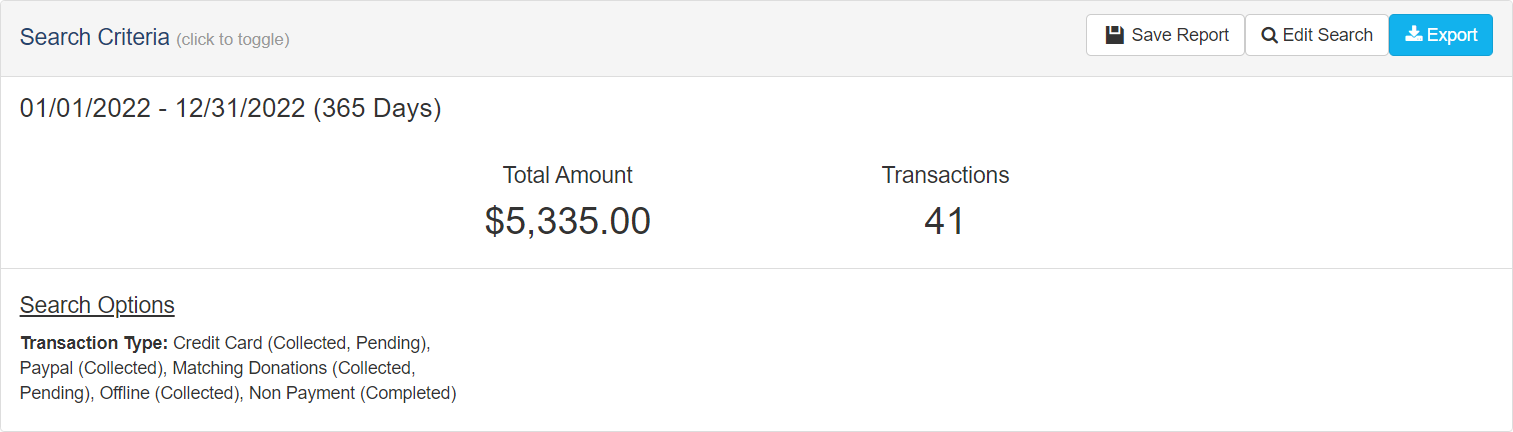
Below your Search Criteria, you will find the Report you just generated. By default, it will show
- Transaction Date
- Donor Full Name
- Collected Amount
- Frequency
- Phone
- Activity Details
- Source
- Transaction
This is what you will get in your exported report.
If the information doesn't look right, such as you entered an incorrect date range or the wrong campaign, then you can click the Edit Search button in the upper right. Clicking this button will retain any search criteria you have entered so you can quickly change an item.
If you want to start your search over, you could just go to Reporting > Search Transactions again, or you can click the Back to Search Transactions breadcrumb link in the upper left to clear any search criteria you entered and start fresh.
Modify Report Data (Manage Columns)
To change the report information to download and view, click the Manage Columns button on the right.

Select all the information in the transactions like Address and added Form Elements.

Select the fields you'd like in your report using the right and left arrows. If needed, change the order of selected items using the Up and Down buttons.
The Available Columns are grouped to make finding the desired fields easier. Any user-generated fields that have been added to your forms from the Add Form Elements options will be listed at the bottom of the list.
You can also search for the desired field by typing its label in the search box at the top.
Click Save and Apply when you have everything you need.
The columns at the bottom of the Search Results screen will show you your updated columns.
Exporting your Report
On the Search Results page, once you have your desired columns selected, click the Export button in the upper right.

A CSV spreadsheet containing requested information will download within about 30 seconds in your browser.
The name of the report will be transaction_report_[date and time]_[report ID].csv
Importing into FR50
Once the report has been downloaded, use the instructions that are found on the FR50 software, to complete the import.
Saving Report Criteria for Later Use
Chances are, you will want to run this report multiple times to bring into FR50. Once you have confirmed everything looks correct and is importing correctly into FR50, you can save your search criteria, so you can more easily get to the report.
When you have a report ready for export on the Search Results screen, click Save Report at the top.

- Name the Report
- Set the Visibility. You have the choice of All or Only Me.

- Click Save Report.
If everything worked correctly, you should be alerted that your report (by name) is now saved and you can click the link to go see your various Saved Reports.

Using Your Saved Reports
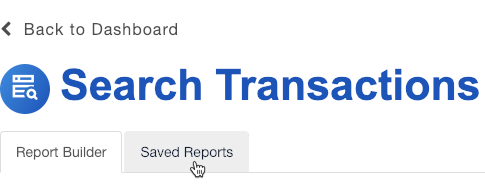
To start using your Saved Reports, you will start with the same process by going to Existing Reporting > Search Transactions.

- Click on the Saved Reports tab in the upper left.
- Find the report you wish to work with.

- Click the title of the Report (for example, Monthly Report) to run the report.
- Running your report is the same as if you are filtering a new report. You will arrive on the Results screen where you can review the snapshot of information, make changes to the columns, and export the report via the Export button in the upper right.
- You can also click Edit Search if you need to change any of the initial search criteria.

- Run your Saved Report, by clicking on the title.
- Click Edit Search
- Change the Date Range to the new Start Date and End Date
- Click Search at the bottom
- Click Export
For more options using Saved Reports, click here.